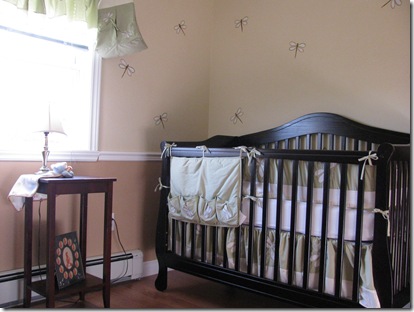
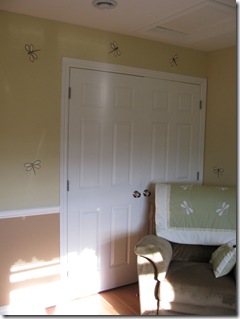
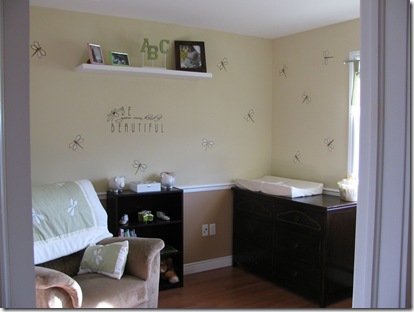
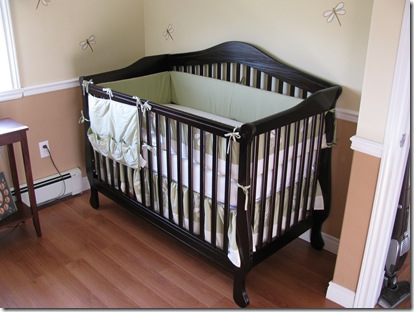
There are A LOT of exciting things in preparing for the arrival of a baby, but preparing the nursery nearing your expected time of arrival really brings it all together in such an exciting way!
The Bedding
I started scowering the net looking for ideas as to where to start and I figured the bedding was the best place and once I decided on that, we would go from there. I wanted something neutral, but not something “too” generic green or yellow. The thing is that I LOVE green and yellow so it was no problem deciding that I wanted it in the colour scheme, but didn’t want to over do it. Finally, after clicking and pricing, hmmming and hawing, we decided on this bedding which we got an incredible deal on from a BeddingHut.com, which is a Canadian company which saved us on shipping as well! That NEVER happens shopping online!
We ordered a 9 piece set for only $79.99 which was a STEEL. The exact same set is listed on overstock.com for $172.79 for the 12 piece set. Given that most FOUR piece bedding sets sold in the department stores are usually in the $200+ range, I think we did great on this find!
The Paint
So then it was time to pick out the paint chips! I tweeted that I was about to go to pick them out when Dutch Boy Paint happened to notice my tweet and offered to pitch in and send me some of their paint to use which became money savings score #2! I was thrilled to give their paint a try. I had always heard of it, but had never used it! When I received my colour fan, I decided on using three colours in the nursery:
Wells Beach C10-4
Willowbrook B8-3
Sleepy Hollow D6-2
When the paint arrived I was immediately impressed with a few things:
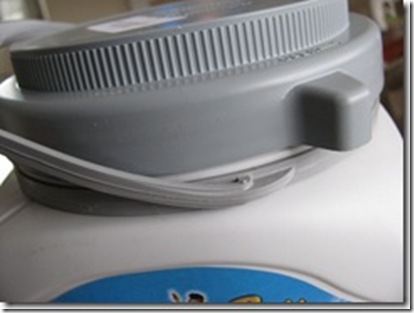
Firstly, it’s a screw top with grip TABS making it easy to open and close – NO screw drivers and hammers required!
Secondly, when you take the top off, there is a pouring spout for easy pouring which is great for people like me :-) This particular line of paint is called “Refresh” and is actually an “odour control” paint that can help absorb odours in the room, which is a pretty good perk when there will be 393484738474 diapers to change in that room! 😀
It was finally time to get rockin and rollin on the room!
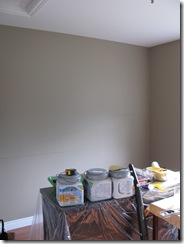
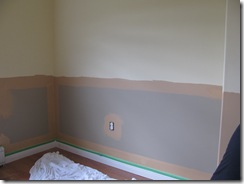
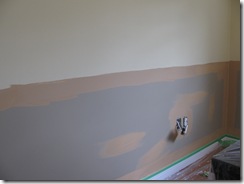
Before:
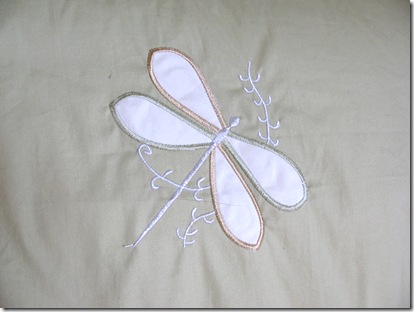
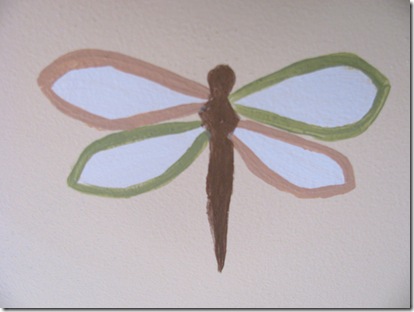
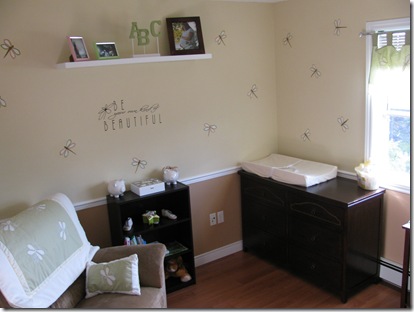
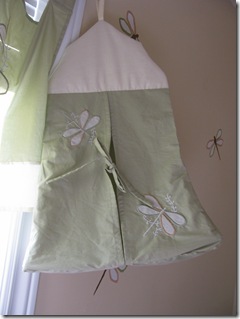
We decided we were going to paint the top half in Wells Beach and the bottom half in Willowbrook. Wells Beach was a nice soft neutral colour with just the right amount of yellow that didn’t overpower anything, but was a nod to the yellow in the bedding. Willowbrook was more of a soft neutral colour with the slightest hint of a “muddy” peach but not in an obvious “peach” kind of way. This colour came from the outline in half of the dragonfly on the bedding itself:
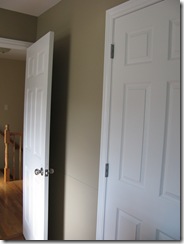
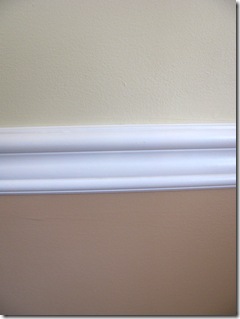
And to separate the colours, we added a white chair rail all around the room that matched the baseboard and doors:
And I had a big ambitious idea to make a stencil out of a dragonfly from the bedding and did so by photocopying it and tracing out wings out of a clear plastic transparency. I painted the wings with the same semi-gloss white that was used for the chair rail and traced two wings with the bottom colour Willowbrook and used the Sleepyhollow green for the other two wings (much like the pattern). I bought a metallic brown/copper acrylic craft paint to paint the bodies:
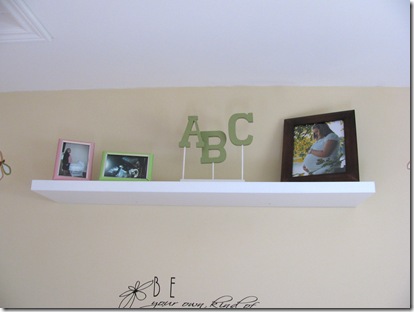
And another hit of Sleepyhollow for the ABC’s!
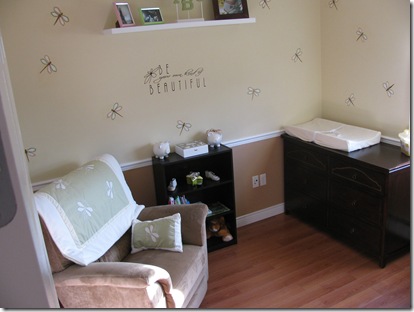
And the next thing we knew, it was really coming together exactly the way we had pictured it would:
Operation Beautiful
And here’s where I made my most personal and important Operation Beautiful note of all:
Whether we have a son or a daughter, I believe that teaching this message to our child(ren) essentially becomes a fundamental building block for a healthy self esteem that really has no limits. What better place to start than the very beginning 🙂
The Crib
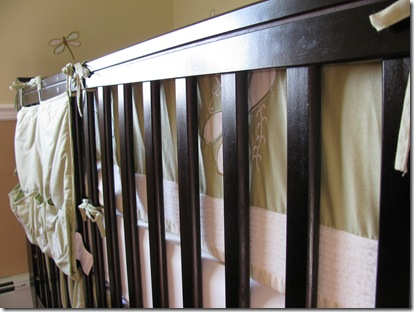
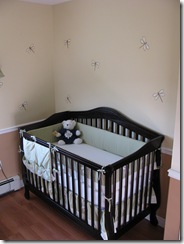
We bought our crib at Sears and it is a Stork Craft “Monique” which I grabbed on sale for $299 just prior to Canada day ($ savings #3!). It is a convertible crib that comes with the toddler rail and no conversion kit is needed to be purchased separately except for bed rails if you choose to turn it into a double bed.
Note: I won’t be keeping these bumper pads on the crib and will be replacing them with breathable mesh version that I bought at Babies R Us. I may reconsider using them later on down the road when it is no longer considered to be a risk to the peanut. But I had to include them for the photos, ya see 🙂
WAIT A MINUTE!!!!!!! There’s something that doesn’t really “go” with the room that just popped up out of no where!! What IS that?!?!
Whoa whoa whoa whoaaaaaaa!!!! Ya see, we’re already having a disagreement in our parenting decisions ALREADY! The husband is a big Toronto Maple Leafs fan and my father and I are big Montreal Canadians fans! We have our work cut out for us it looks like 😛
Oh don’t you worry, I’m alllll over it! 😀
The Changing Table/Dresser
We decided not to buy a changing table and to use a dresser of appropriate height with a change pad on top. It has tabs to screw to the back of the dresser that secures the pad in place. We bought the dresser at Pier 1 which was another savings because we had some gift cards burning a hole in our pocket from Christmas and my Birthday 🙂 ($ savings #4!) It’s a solid wood, heavy dresser that will last forever.
The Chair
The nursing chair was something we did not save on and was a bit of a splurge. I knew that we would be spending hours every day using this chair and if there was one thing that we both agreed we should splurge is being comfortable nursing and feeding the baby and feel comfortable falling asleep with the baby in our arms. This is a Lazy Boy glider/recliner rather than a rocker/recliner and the sales lady pointed out a very important difference that we would thank her for later if it was to be a nursing chair. With the “rocker” recliners, they will disturb the baby when coming down from recline because it kind of rocks you forward quite hard, but the glider mechanism doesn’t do that. The last thing you need is to wake a sleeping baby getting out of the chair!
The chair has a lifetime warranty on the mechanism and 10 year stain protection plan, so regardless of what gets on it, they will come to the house and clean it which isn’t a bad perk to have when it is going to be used for nursing a baby – lots of opportunities for mess! I’ve been thoroughly enjoying this chair since it has arrived and up until now had a spot in the living room :-) Another reason why we justified the extra expense is for that very reason – it’s a chair that can be used later on in our family room too.
The Accents
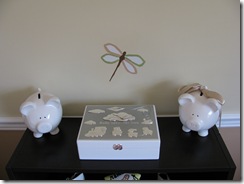
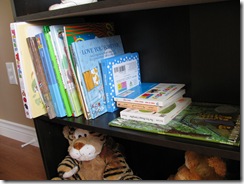
We had to get a book shelf for all of the wonderful books, peanut’s first piggy banks and memory box that we received from the girls at my surprise baby shower! 🙂
Not exactly sure what purpose this little thing serves, but it was a part of the set!
So there you have it my bloggies, that is our Peanut’s nursery and it feels GREAT to have it all complete!
A big thank you to Dutch Boy Paint for providing the paint! As it turns out, we can’t actually buy it in Canada, but if we could, I would definitely be buying it for further projects.
We are at 37 weeks now bloggies and are full term!! Any time the Peanut decides to arrive is fair game and now I think we can say we’re ready 🙂

