What can you get when you cross conversations of permaculture, herbs, and three grade 8 classes at Oxford school?
THIS!
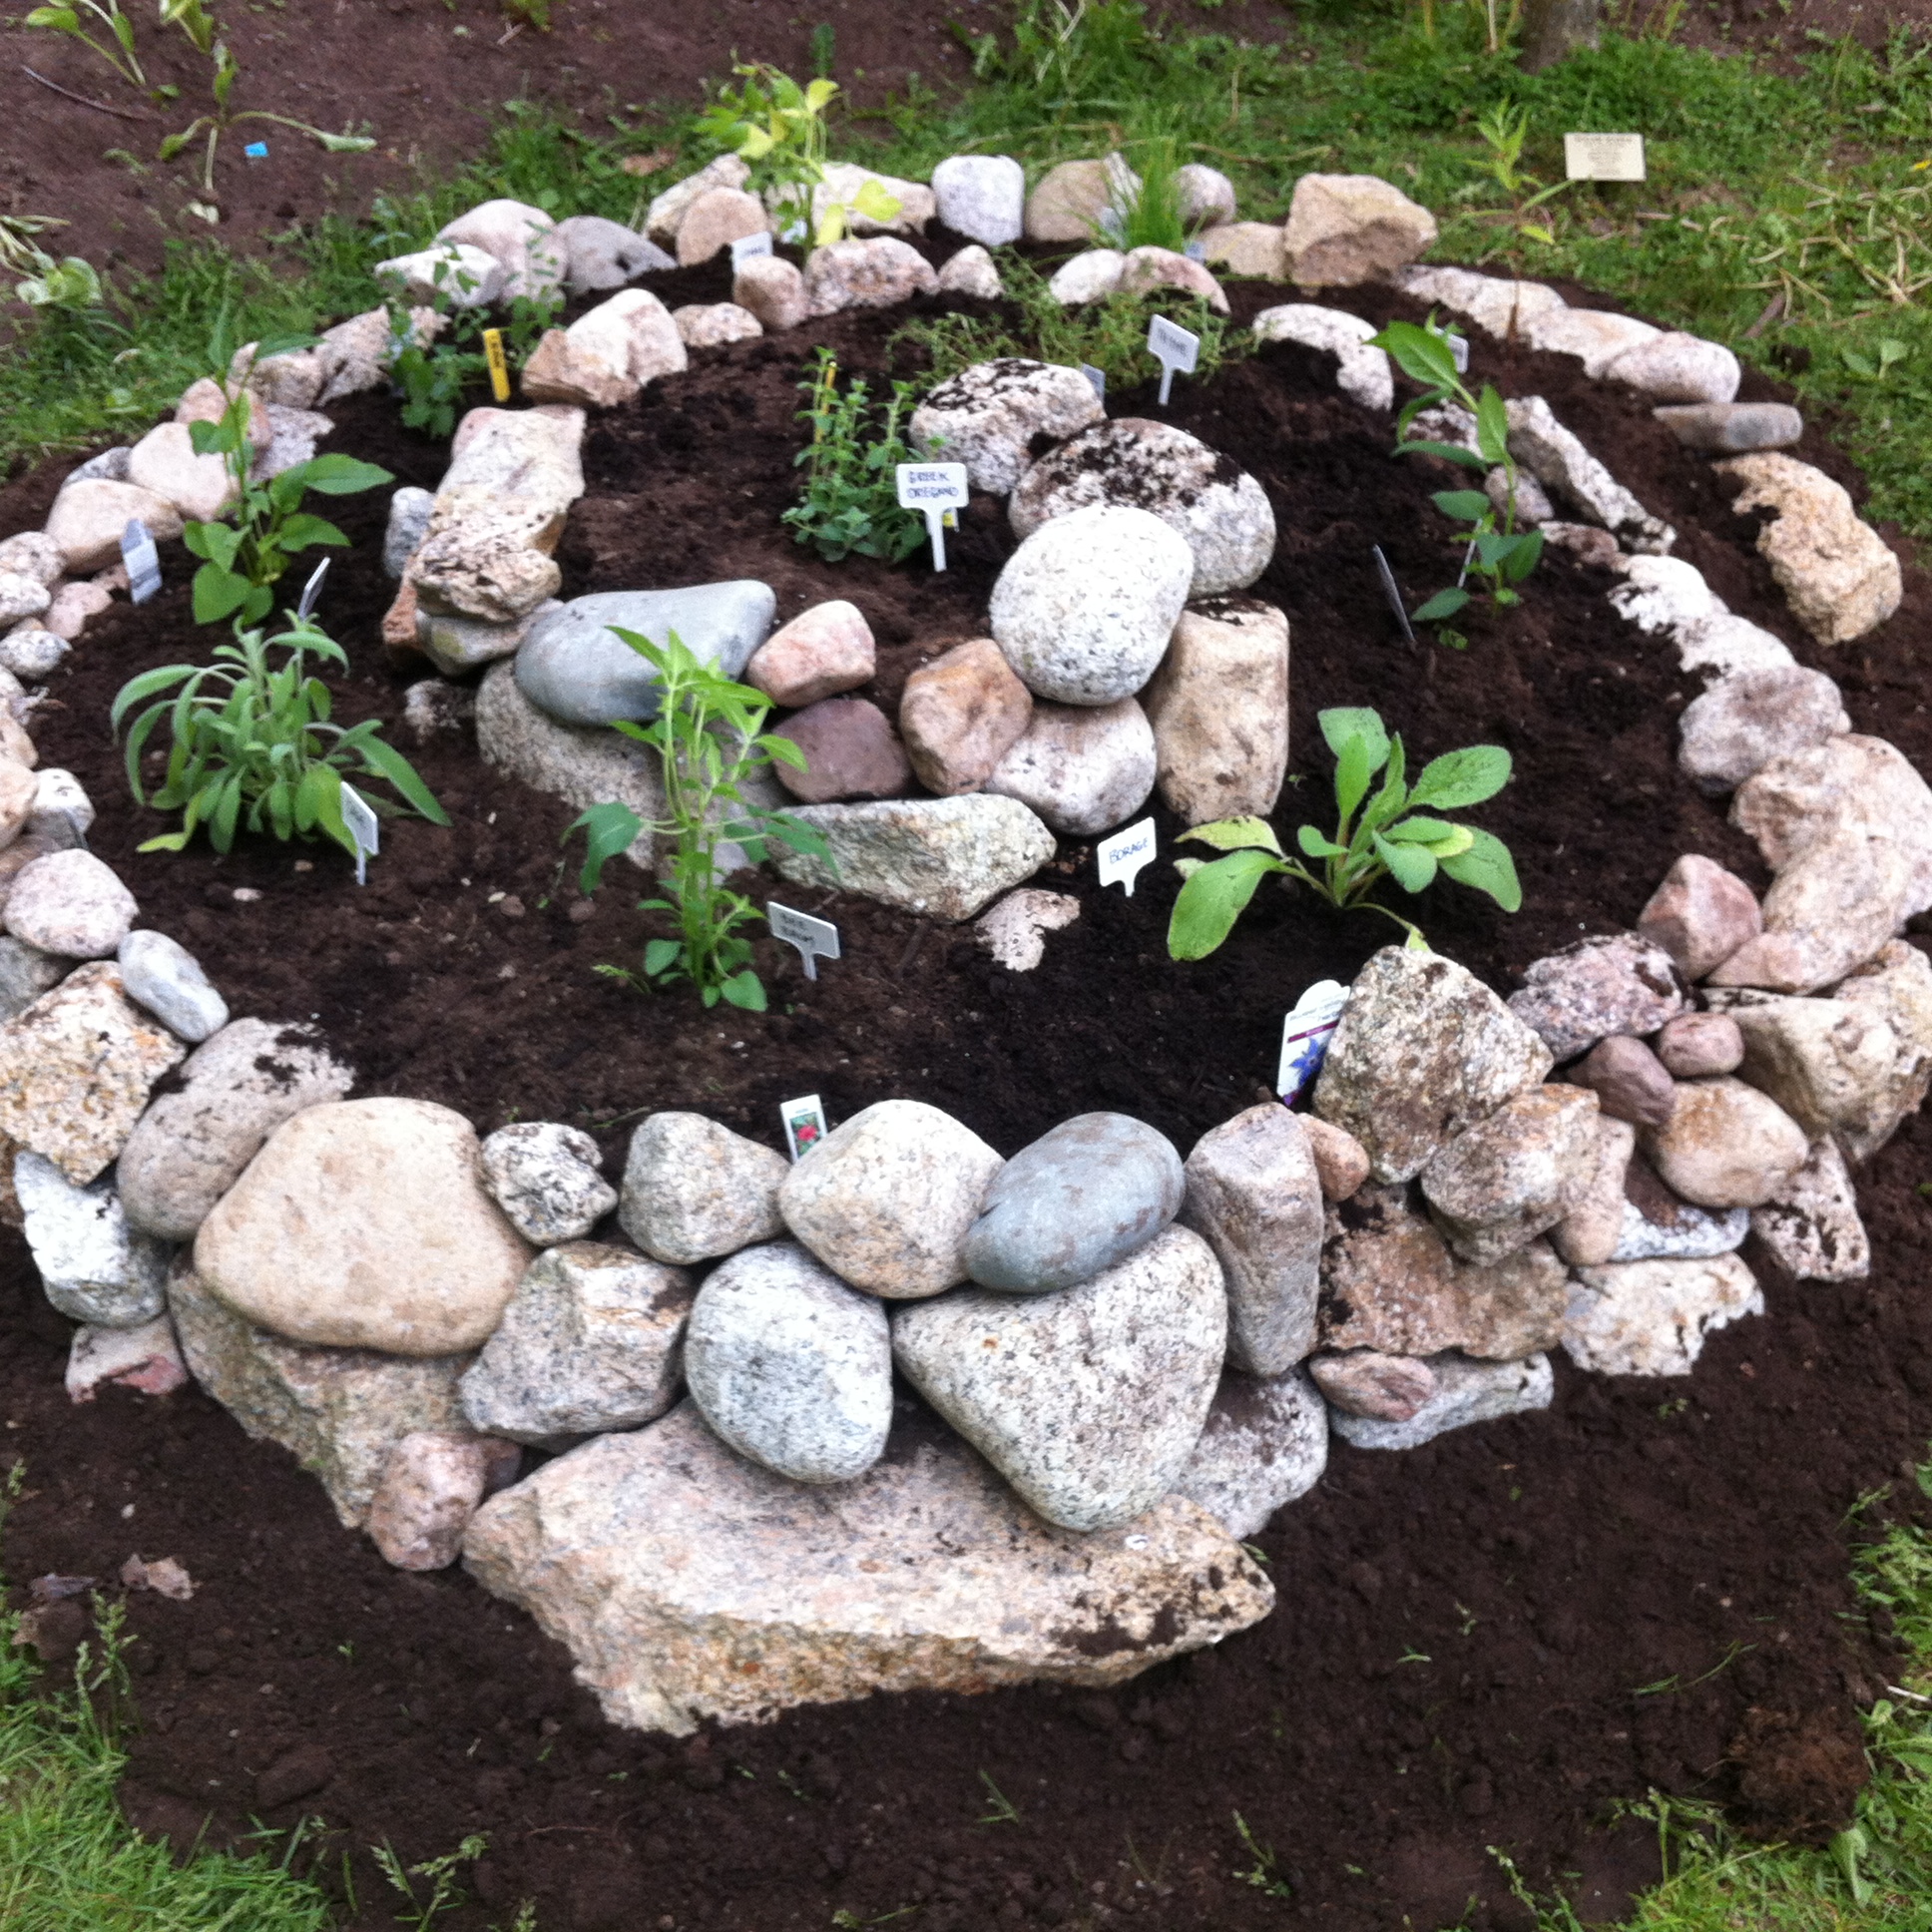
A herb spiral. The ultimate raised bed for herbs; it’s both beautiful and practical in its design.
By building the spiral shape you take advantage of an added dimension and you also create different microclimates for various herbs to co-exist in.
A herb spiral has a number of benefits:
- It can be built at little cost from readily available and natural materials;
- Because you’re growing herbs in this added dimension it’s a good way to grow more in a limited space;
- It’s easy to plant, tend and harvest, and it’s very attractive;
- The herb garden also lets us create a variety of microclimates. The herb spiral accommodates these needs, as it is designed to have different conditions at different parts of the spiral;
- The spiral shape means that you will make the most of the water you put on the structure. When you water from the top it will trickle down, dampening the soil along the way, and then finally collecting at the bottom;
- The top of the spiral is a warm, dry area that gets plenty of sun;
- The bottom is cool, shady and moist;
- The middle is, well, a mixture of both. Herbs that need drier soil will have soil that drains easily, and plants that desire moisture receive water that flows from above. Plants that grow tall also go well on the lower middle slope as they won’t block the direct sun for the herbs at the top that need a lot of direct sunlight.
Last week I visited three grade 8 tech. classes to help build one at Oxford School. Each class started off with in-class discussions about the design principles. With support from teachers Miss Reardon and Mr. Fournier, we were able to build and plant a herb spiral for the school in four class days! Luckily the weather was a summer dream– not a cloud in the sky, lots of sun, and just the right amount of wind to keep us cool during the building process.
The workshop was also exciting in that it invited a garden workshop into the curriculum of the school day. Keeping in mind the outcomes of the class, we investigated design theories, drew designs on paper, used resources to decide on how best to plant our spiral, and then went outside to DO the project!
Since three classes were involved we divided the project into three Phases.
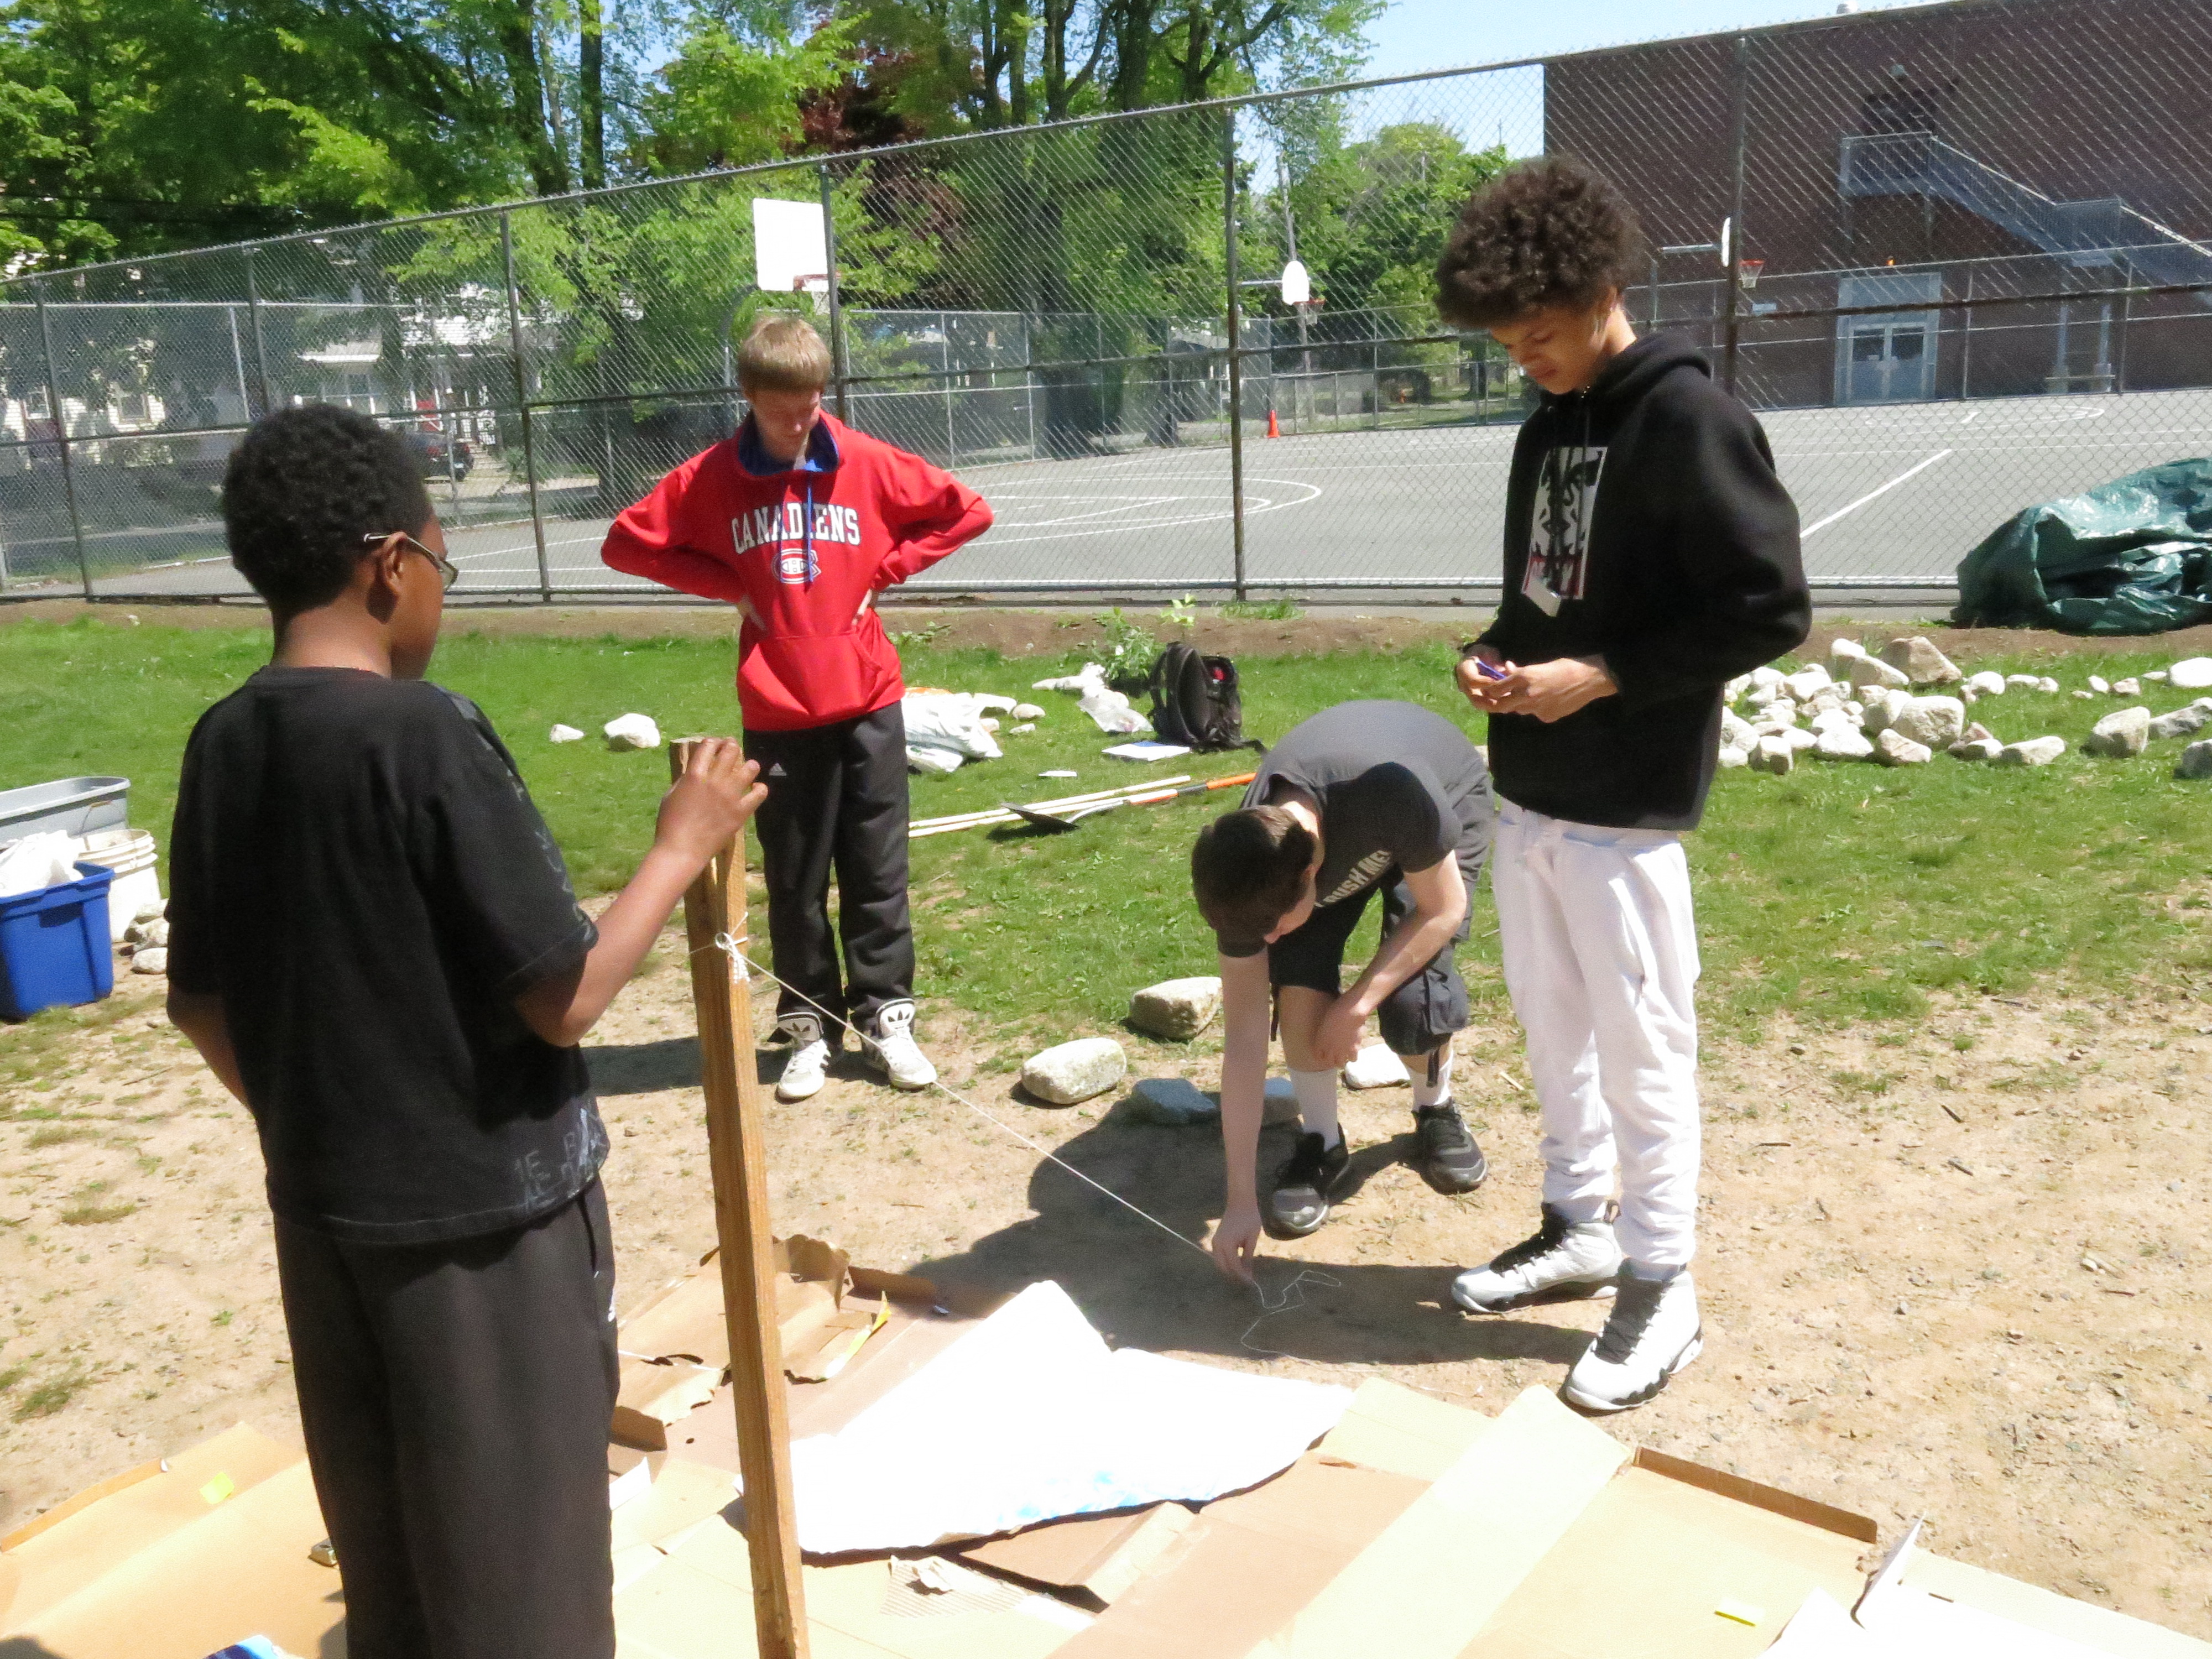
Phase I – Lay the foundation
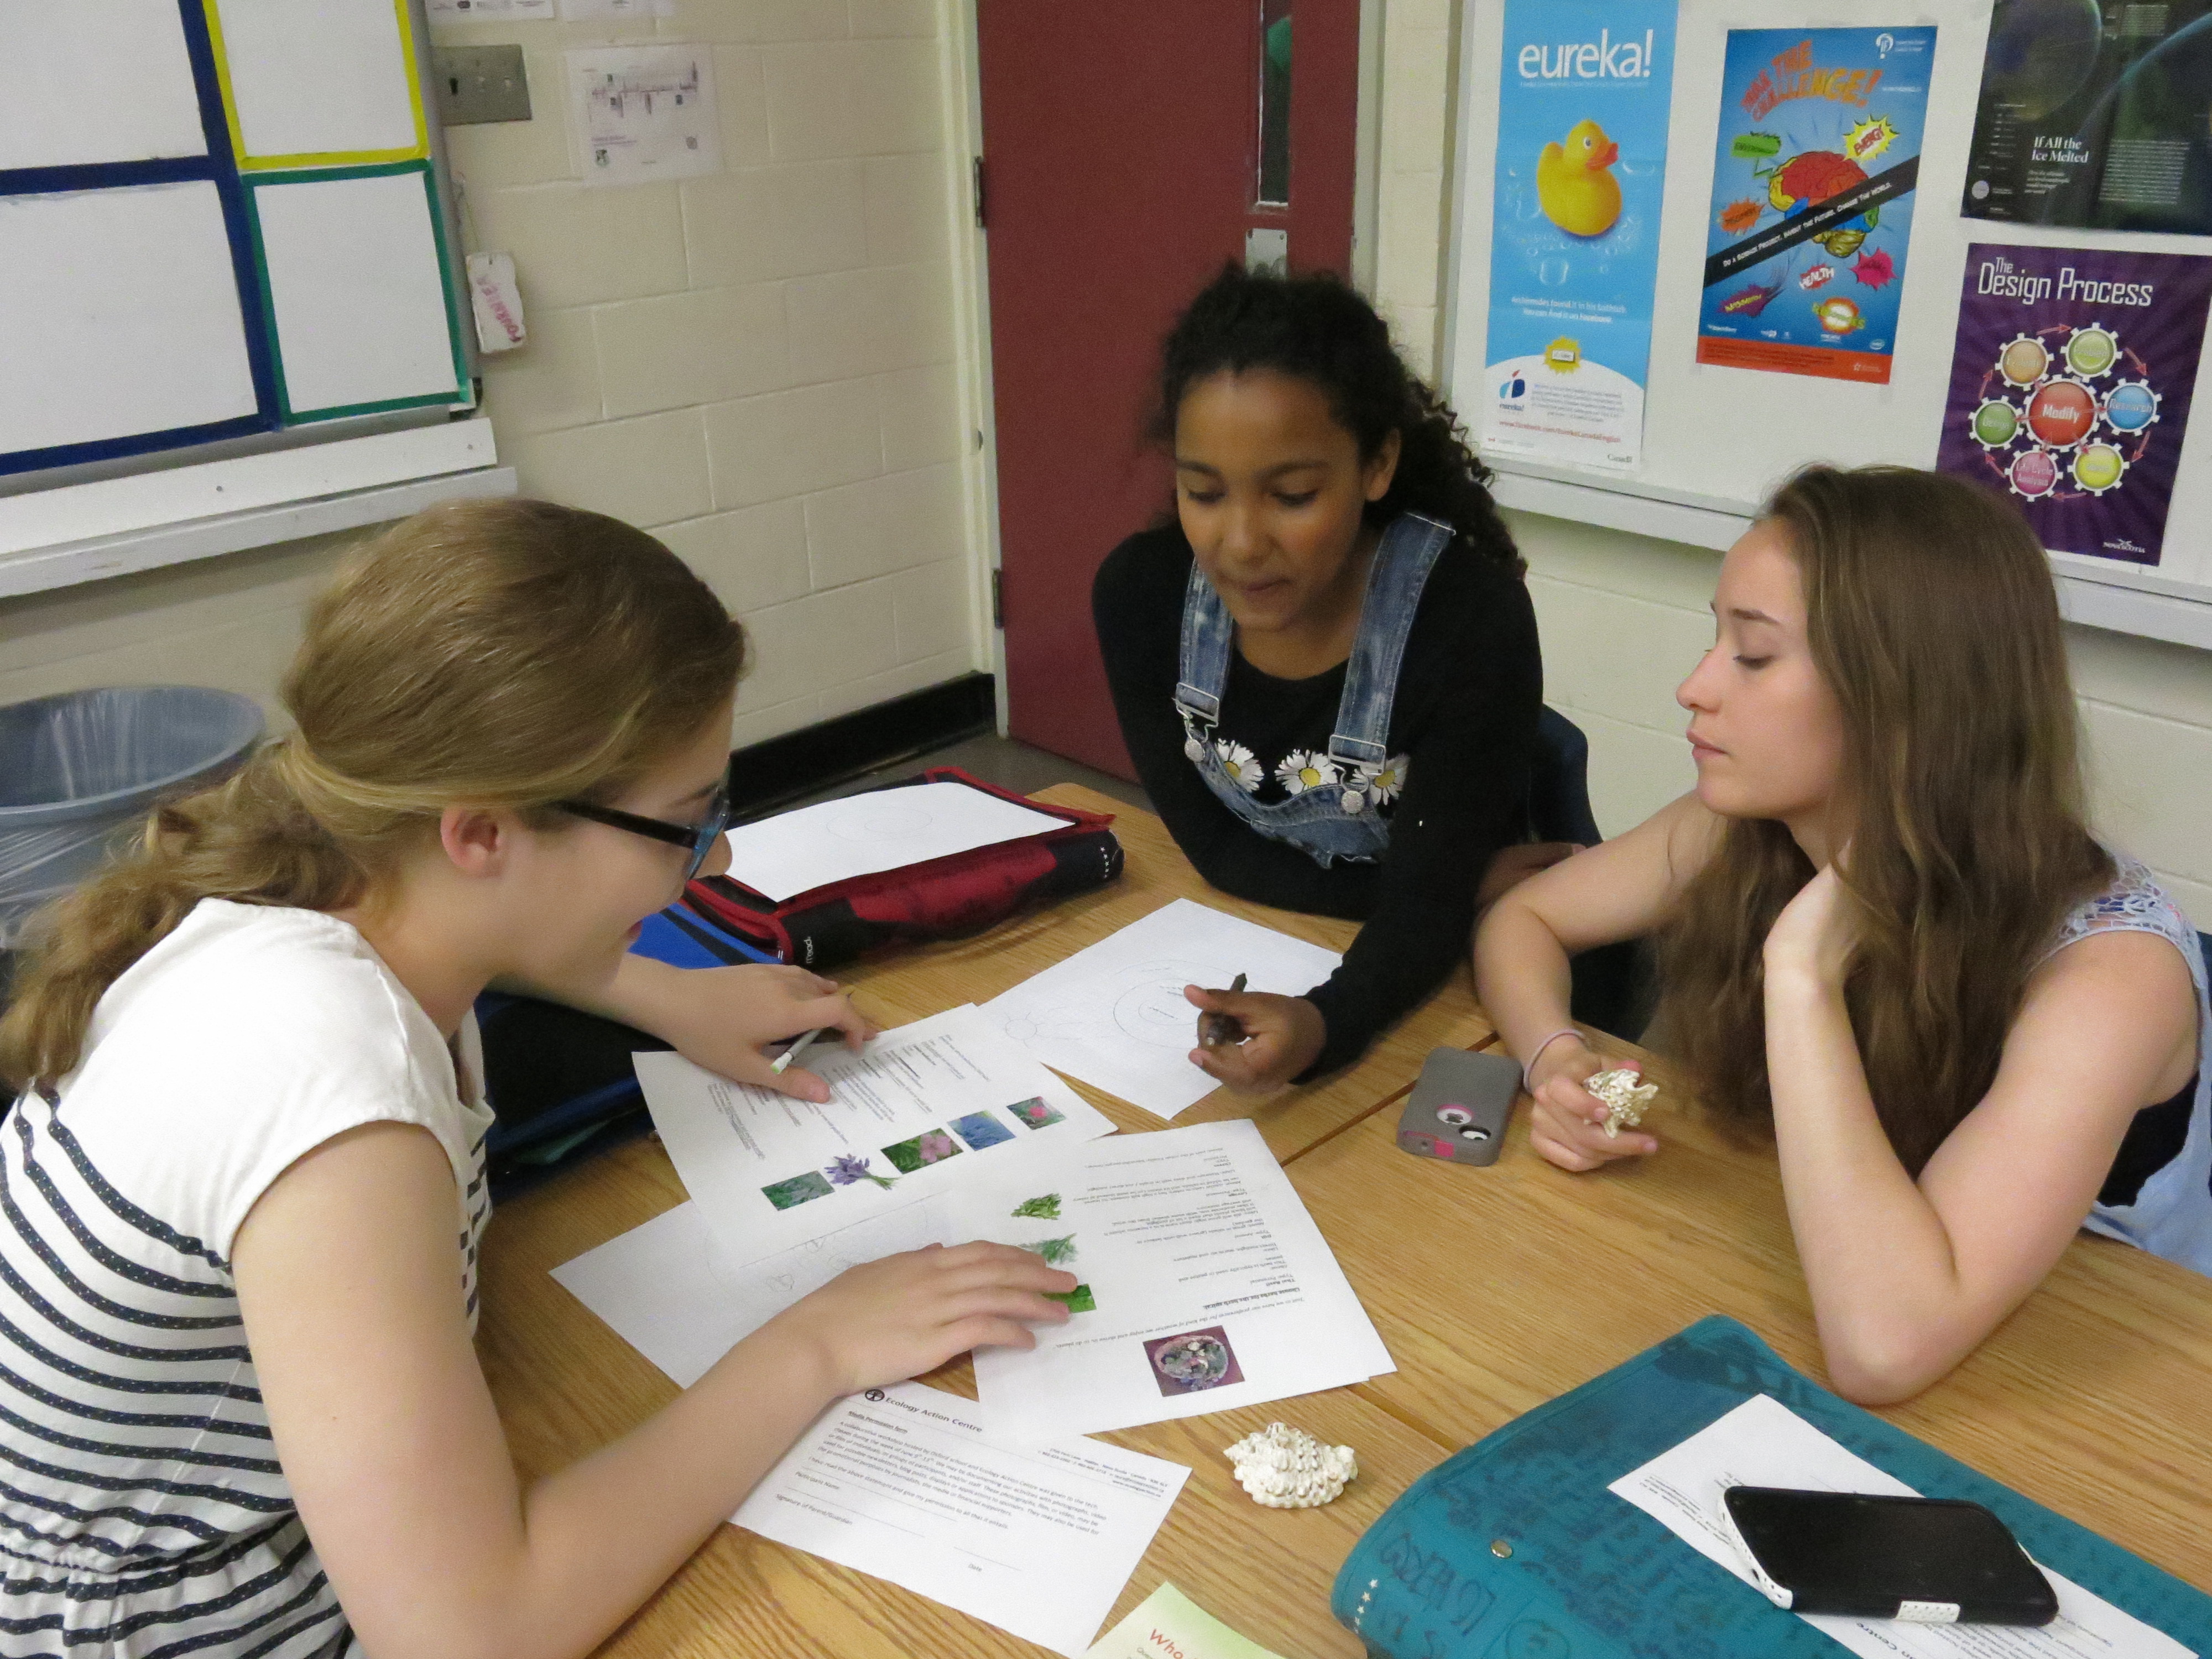 Each class started the workshop off by learning about herb spirals in permaculture design and the nature, needs and uses of certain herbs. Once we were finished talking about the designs students had the opportunity to draw their own. They were given both paper and resources outlining the likes and dislikes of herbs. Based on these likes and dislikes, students then decided where each herb should be planted in the spiral.
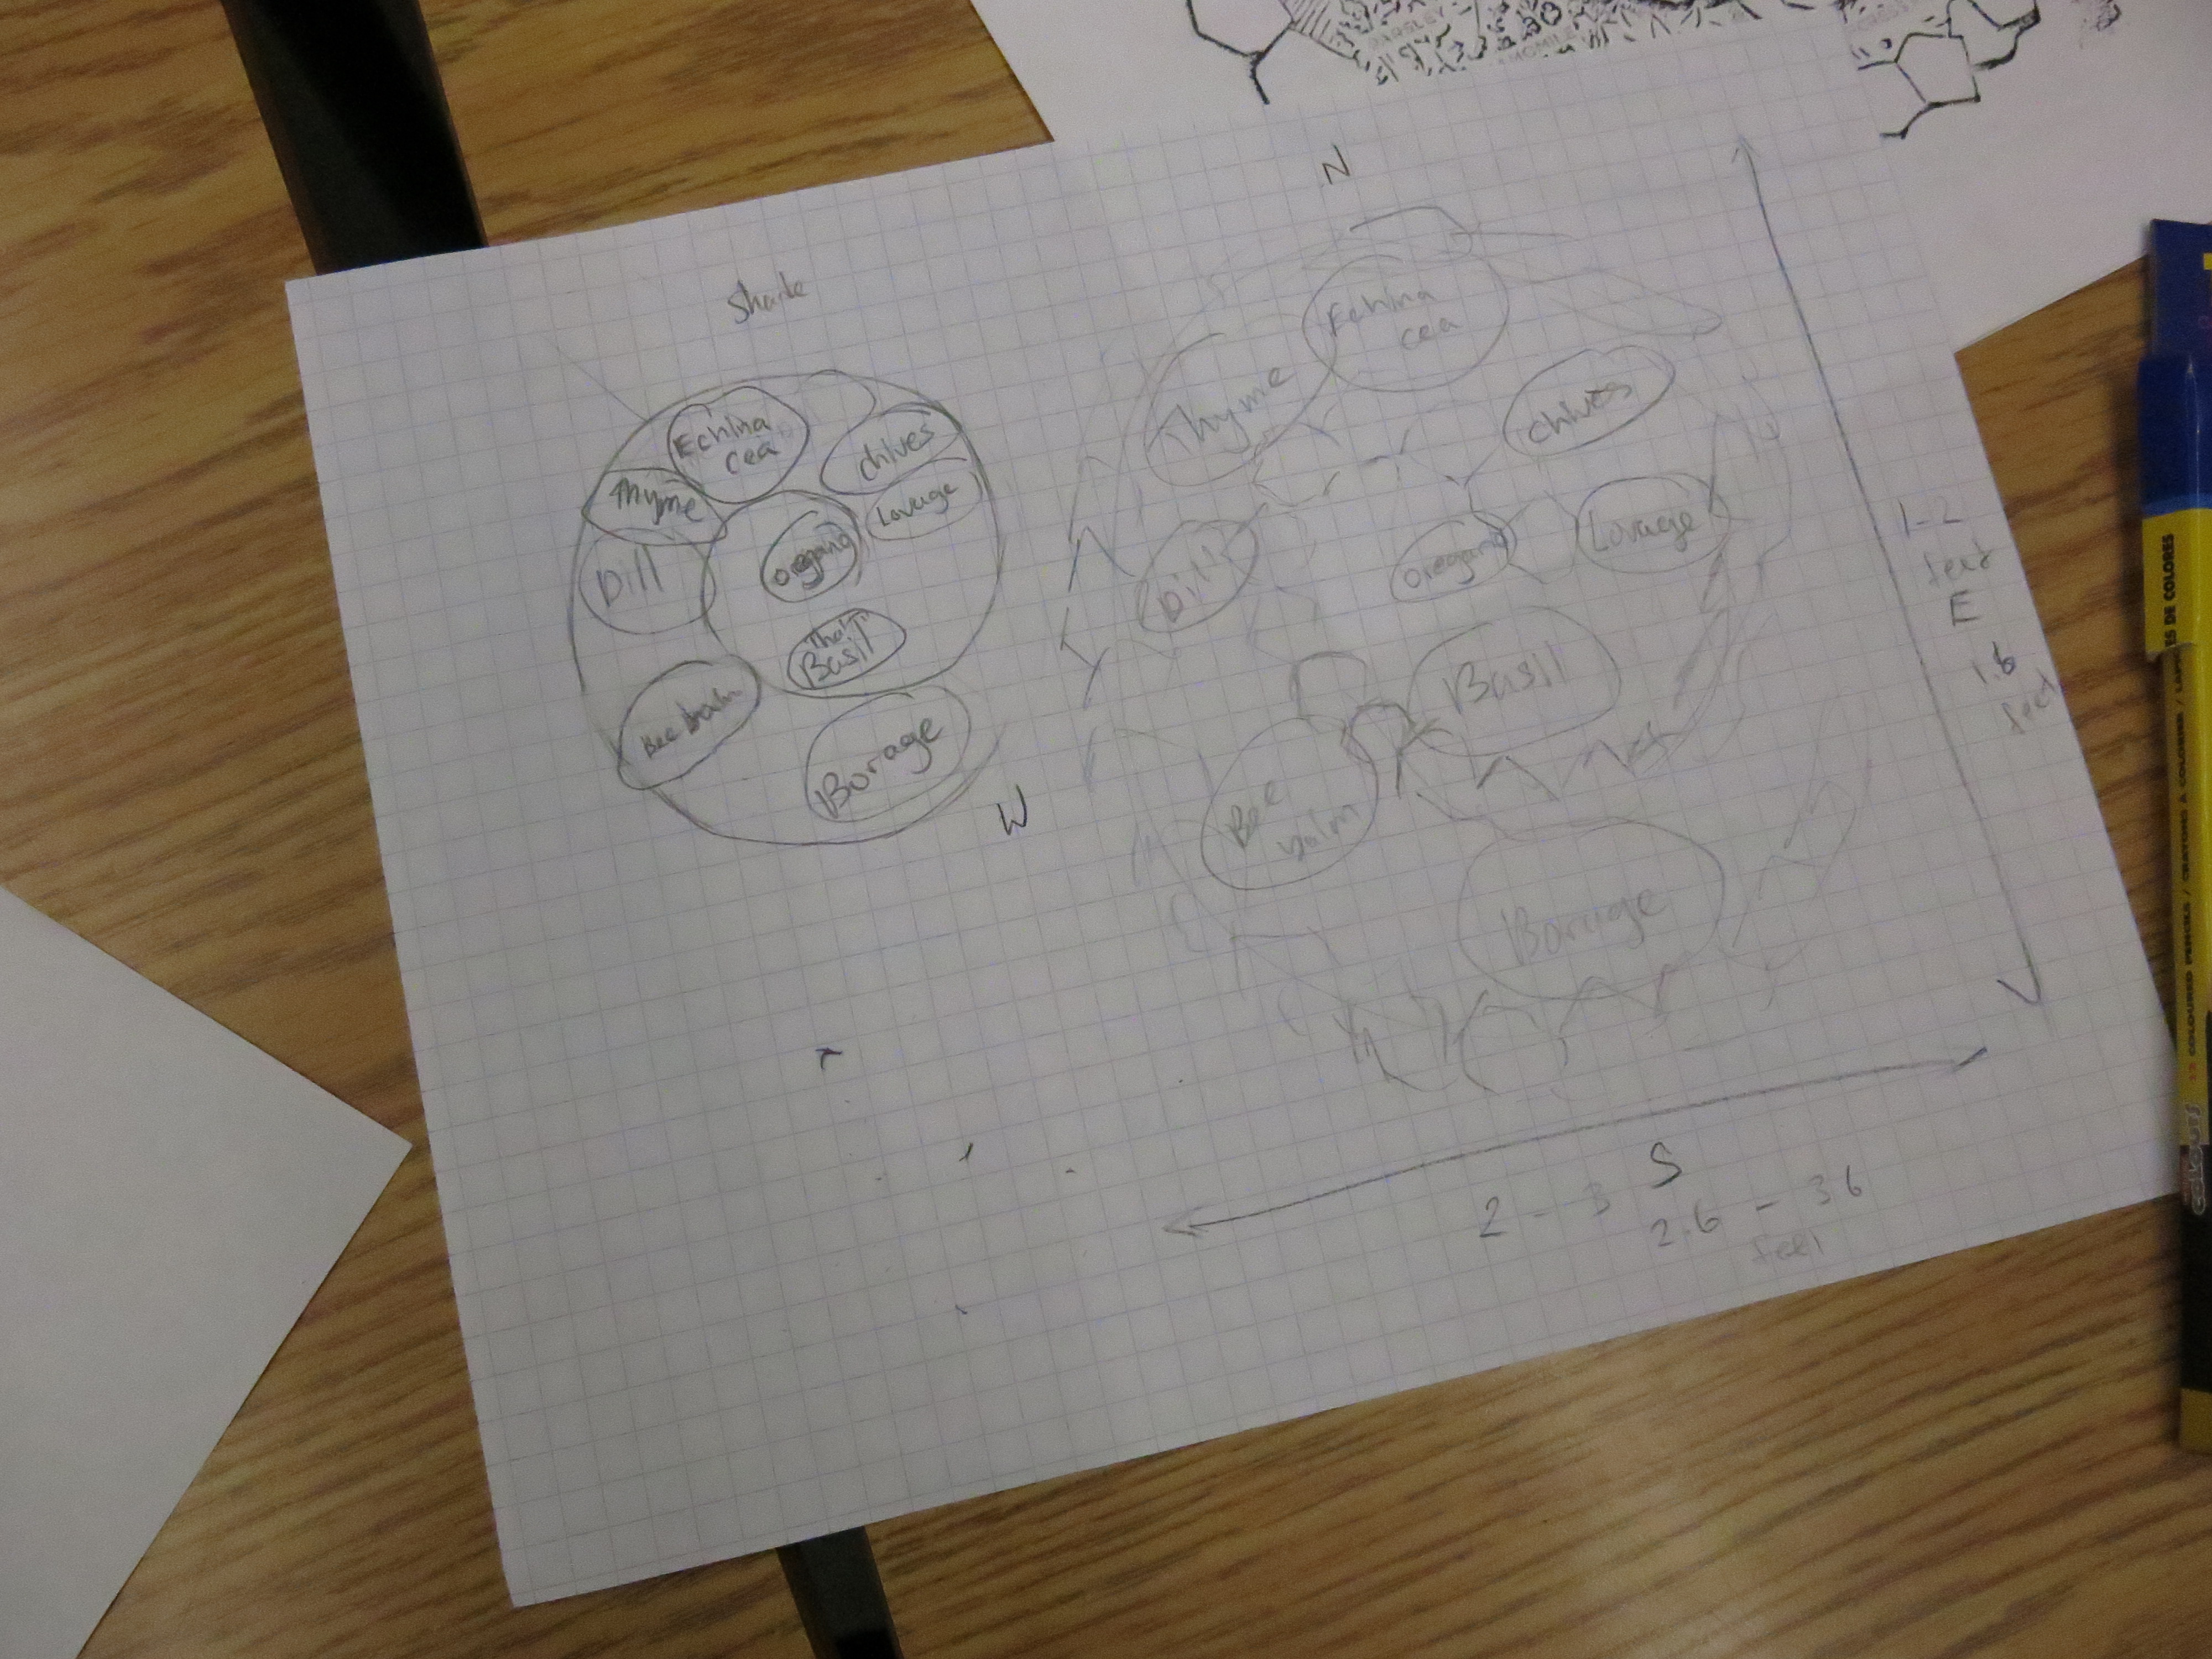
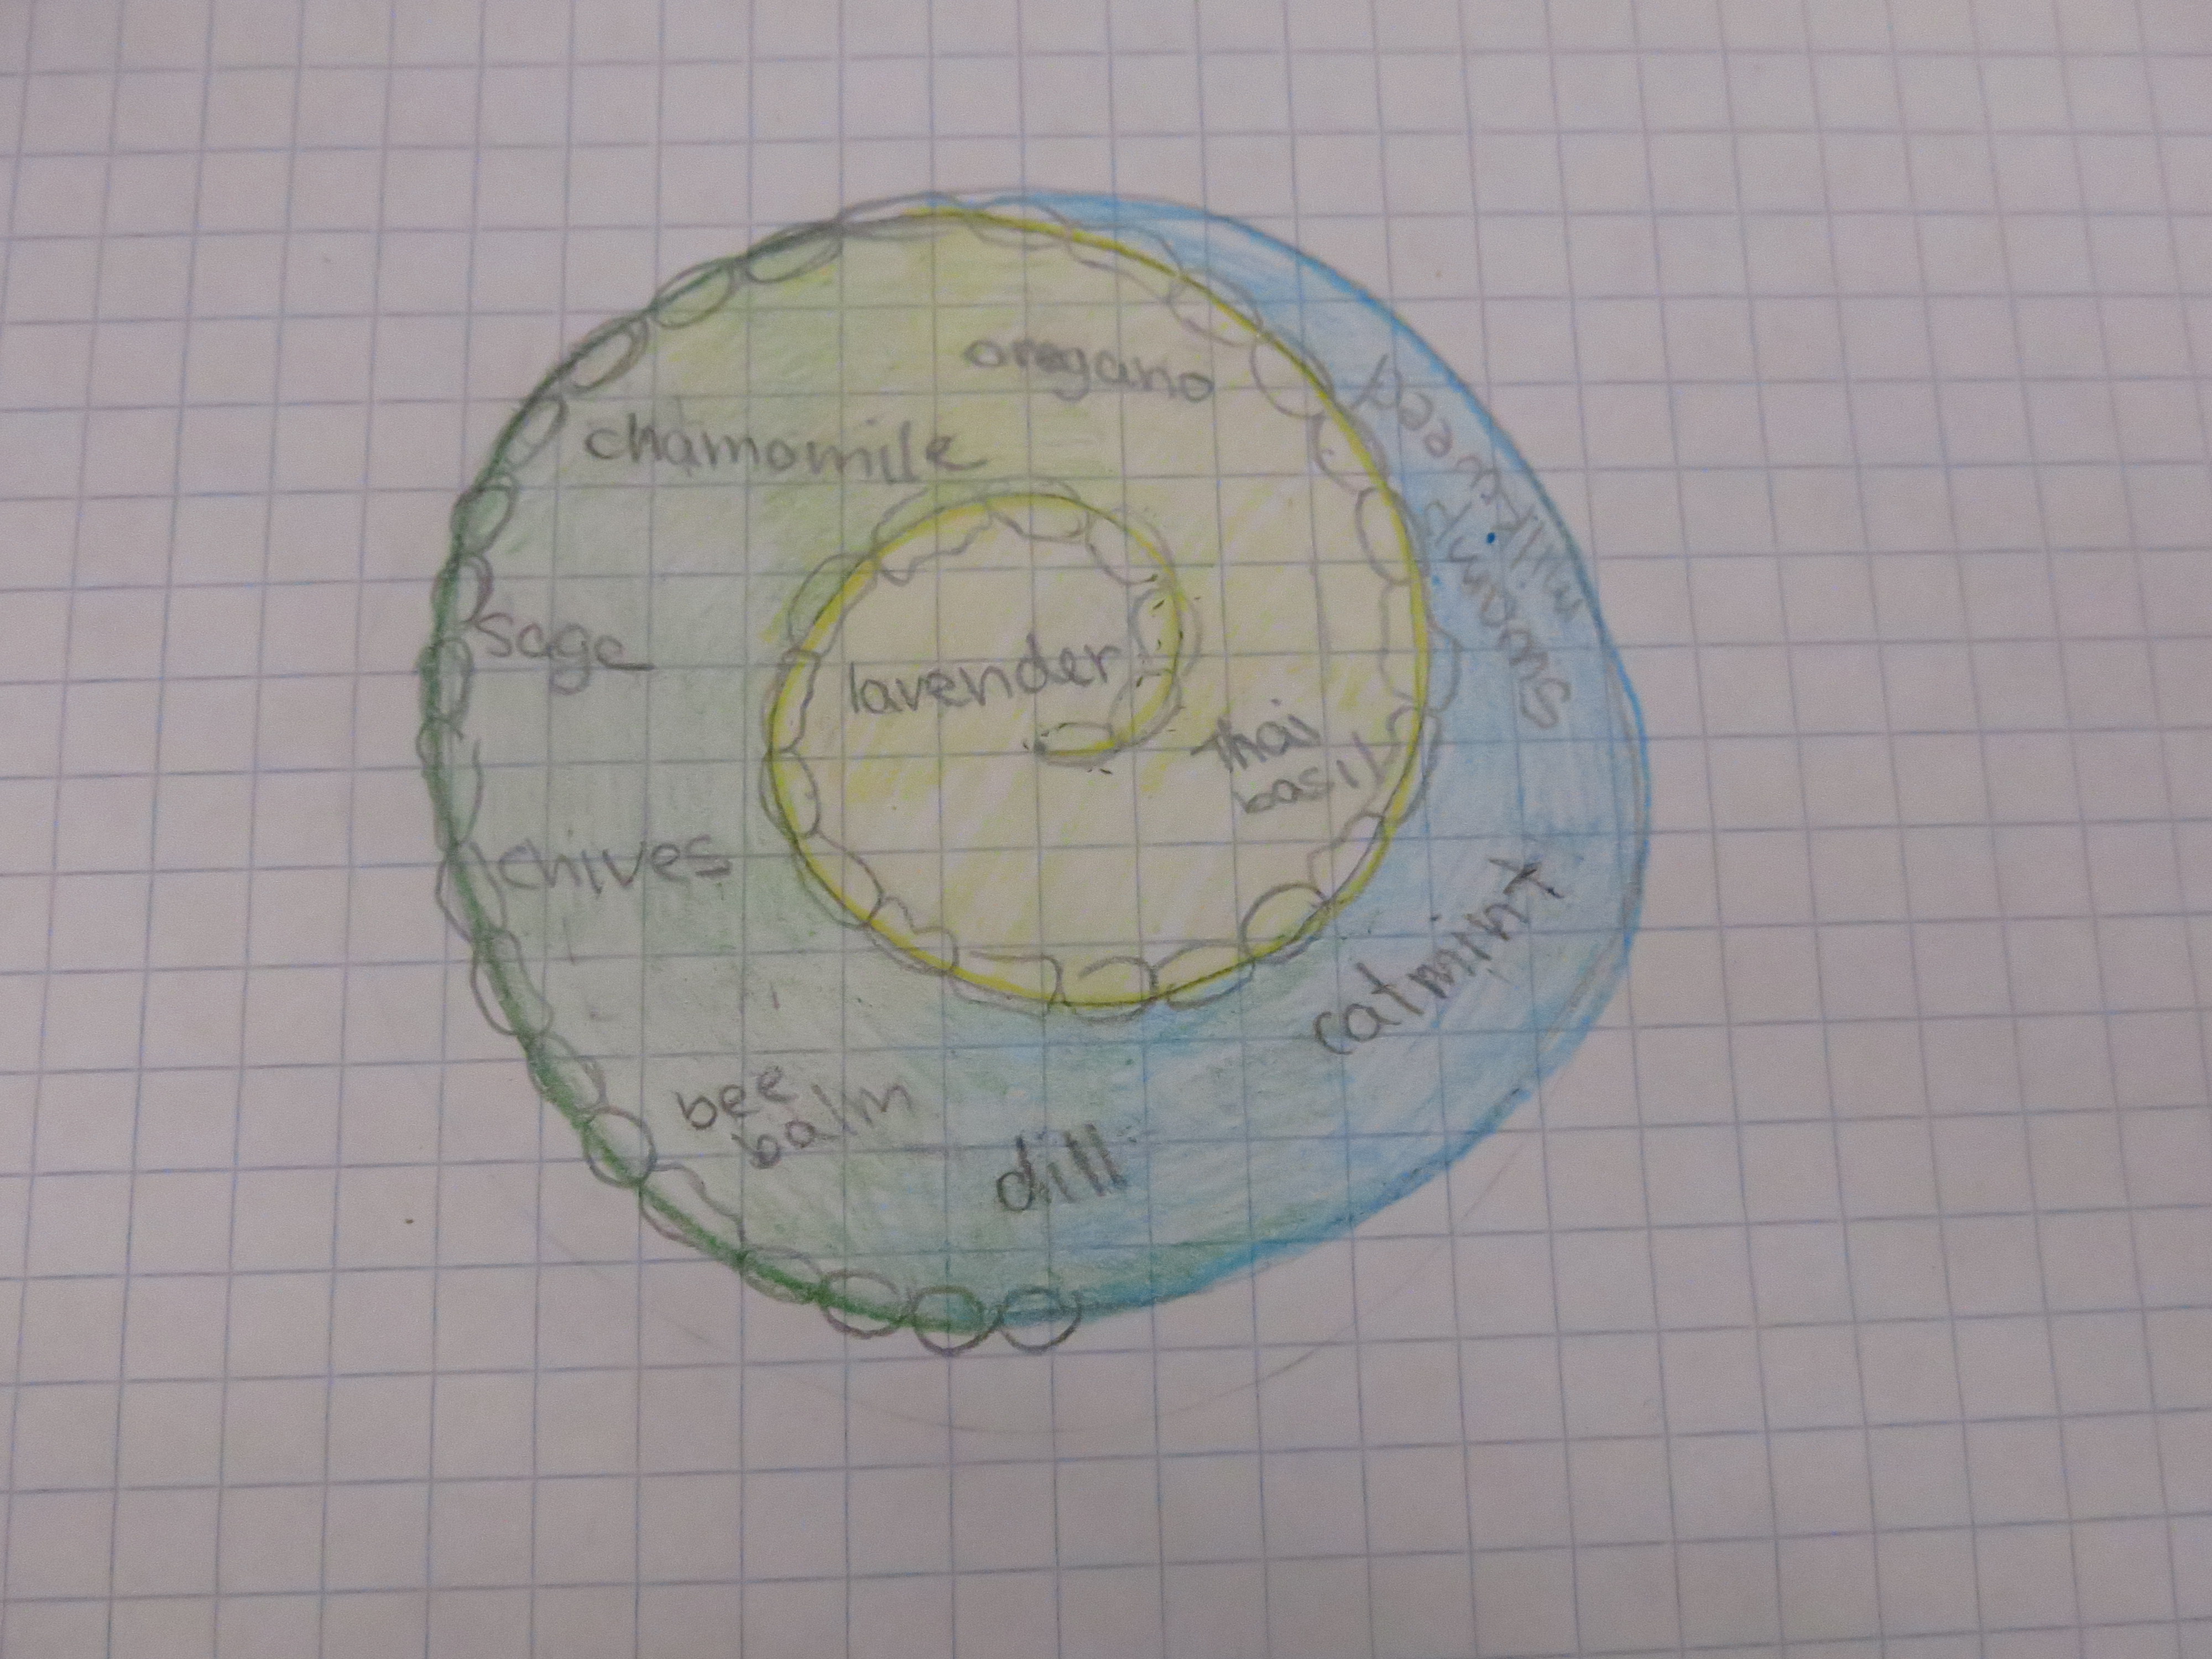
Some interesting designs were created:
Next we moved outside to decide on where to place our structure and take a look at the materials we would use.
Materials
- Materials for the wall
We used natural stones from the beach.
Other examples of building materials include brick, cement blocks, and other rocks like shale and limestone.
- Tools: shovels, rakes, buckets and trowels.
- Cardboard
We needed to make sure that there are no grass or weeds that poke through the soil… so we used cardboard to lay down over the grass before building the spiral on top of it.
- Black earth and compost
- And then, of course, our herbs…!
Location
We decided on location while considering the needs of our building project as well as what the school grounds could accommodate. Originally we thought the middle of a field as the perfect spot – lots of sun, not as many trees, but right in the middle of the only school green space. Since the field is used for a variety of things, we changed our location sights on a corner spot, closer to some shade from trees, but still offering enough direct sunlight. We then oriented our spiral to ensure it saw the most sun throughout the day.
From there students measured width and height, and adjusted as needed. We didn’t want our herb spiral to be too wide or tall, to make sure any of the younger kids at the school could reach in to grab herbs around the tiers of the spiral. We decided on approximately 3 feet in width and 2 feet at its highest point. The students measured from the centre and planned the shape of the base with smaller rocks first.

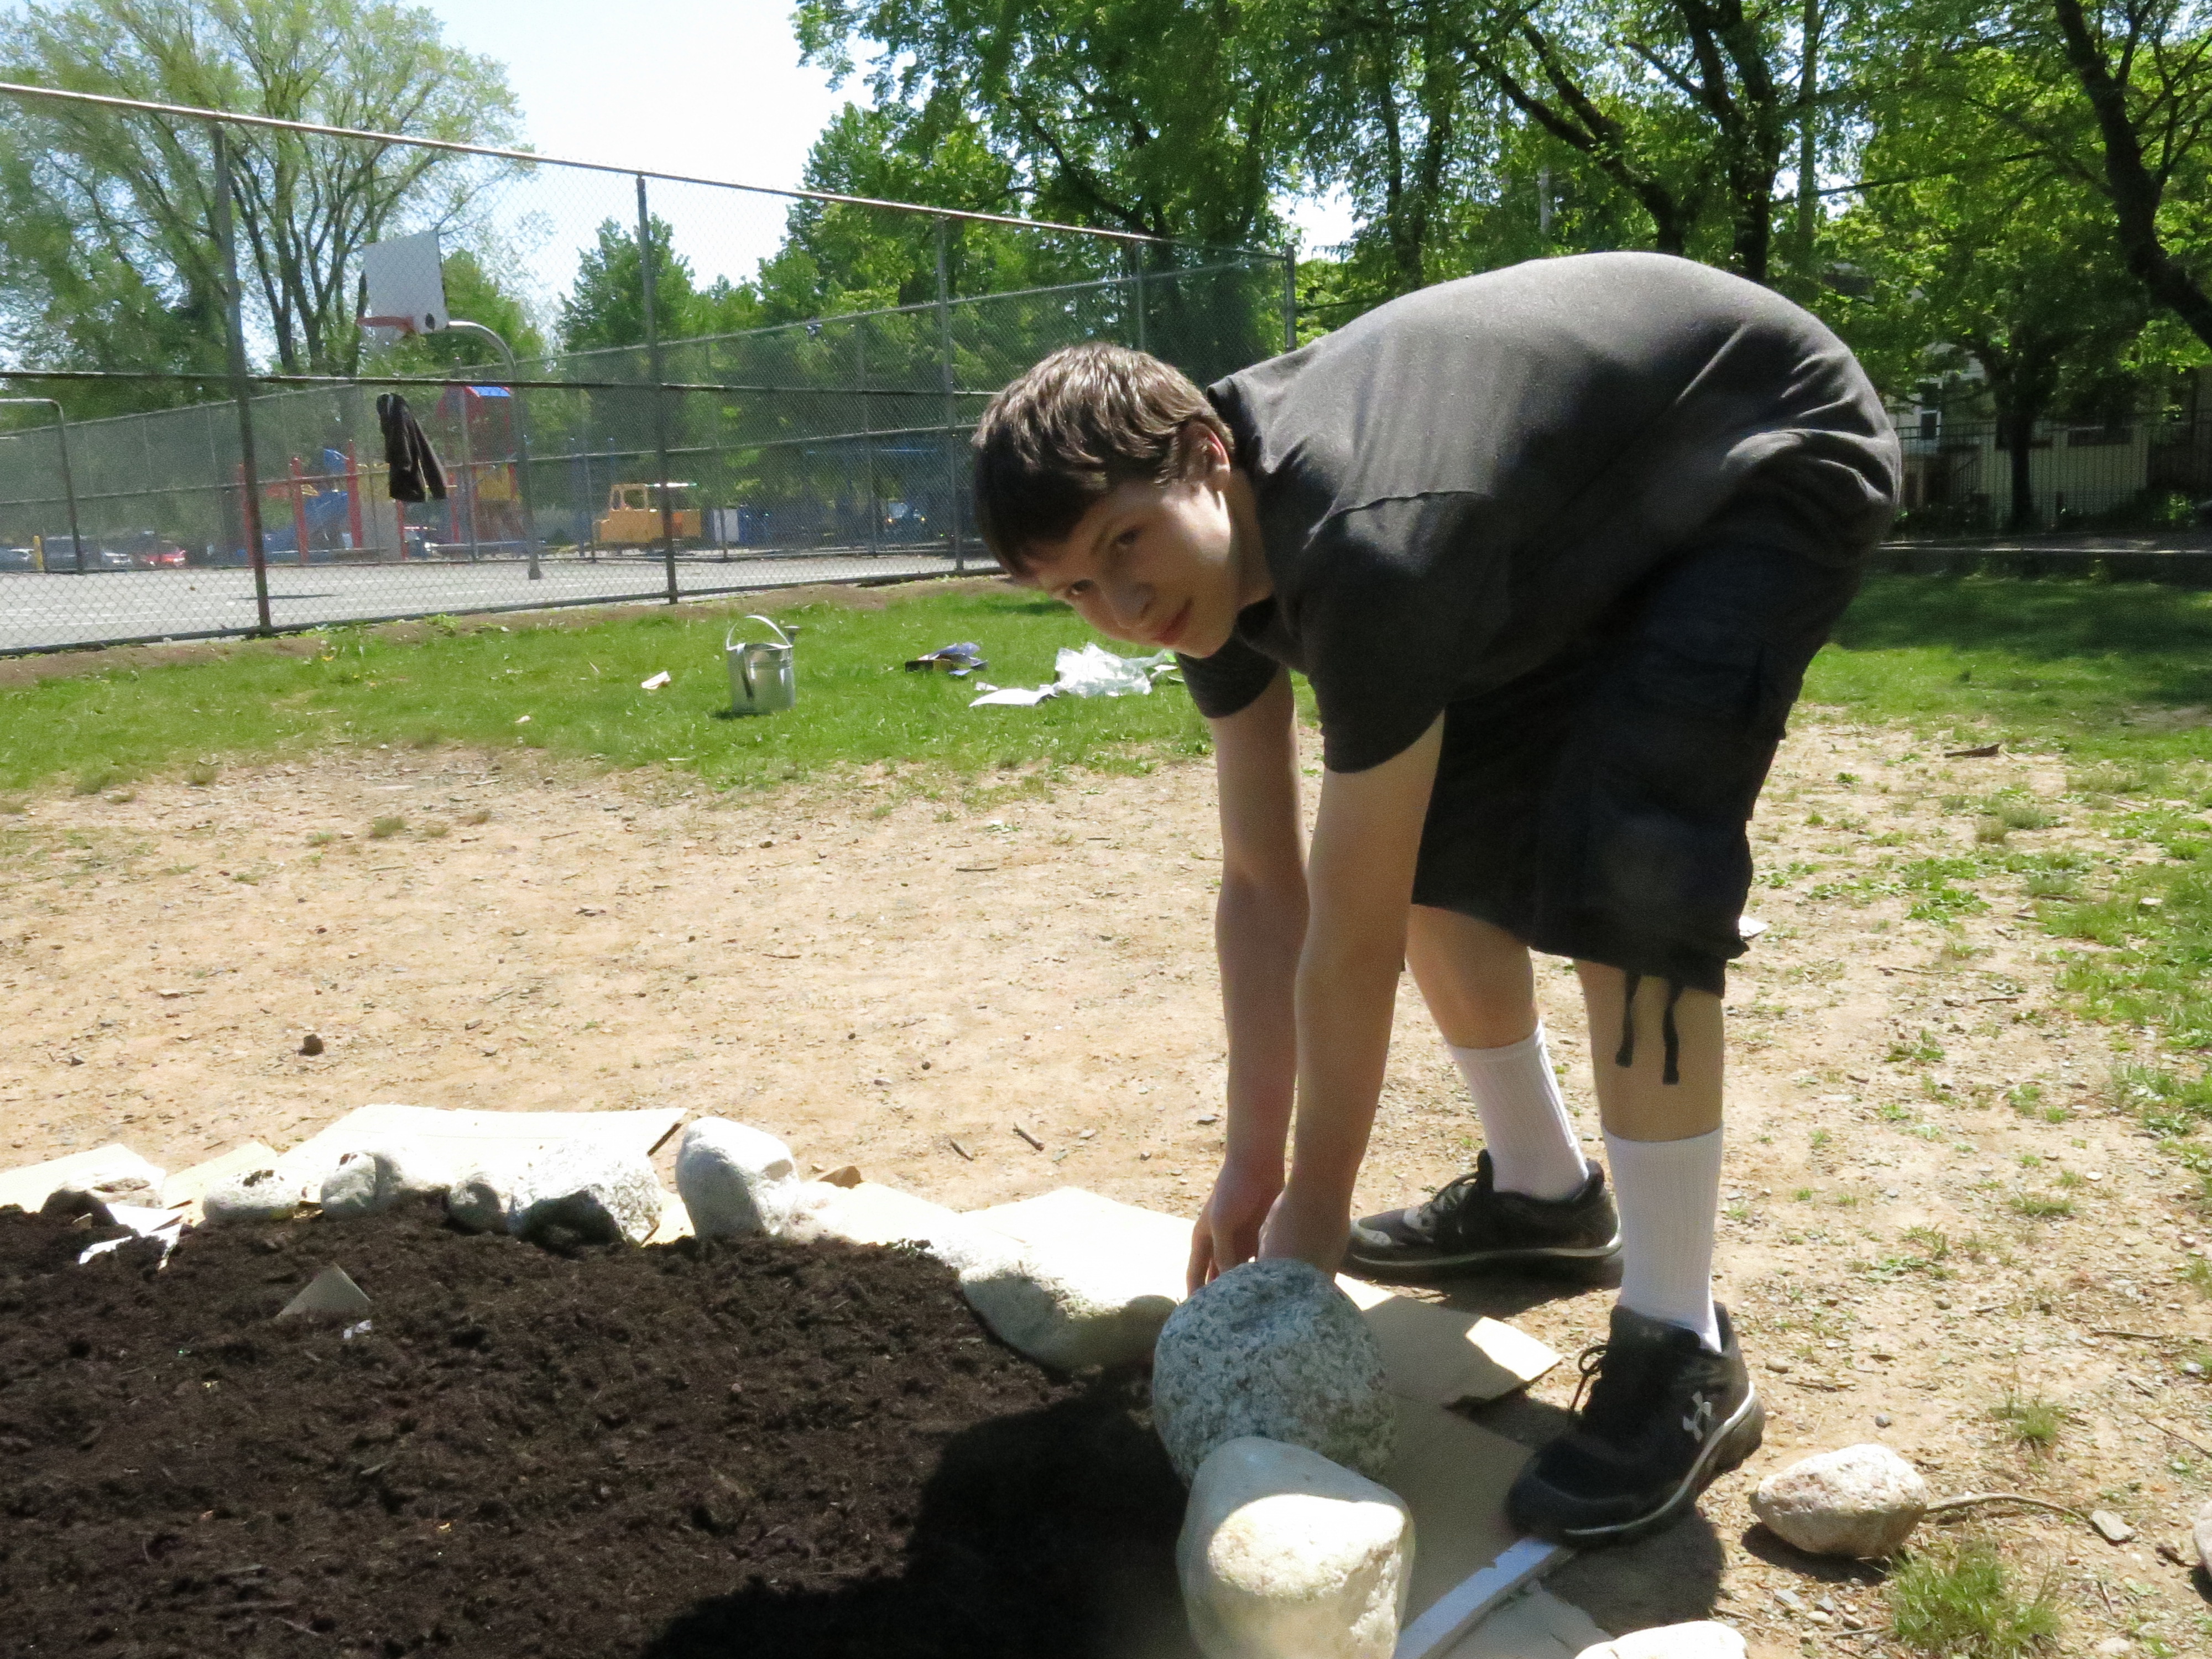
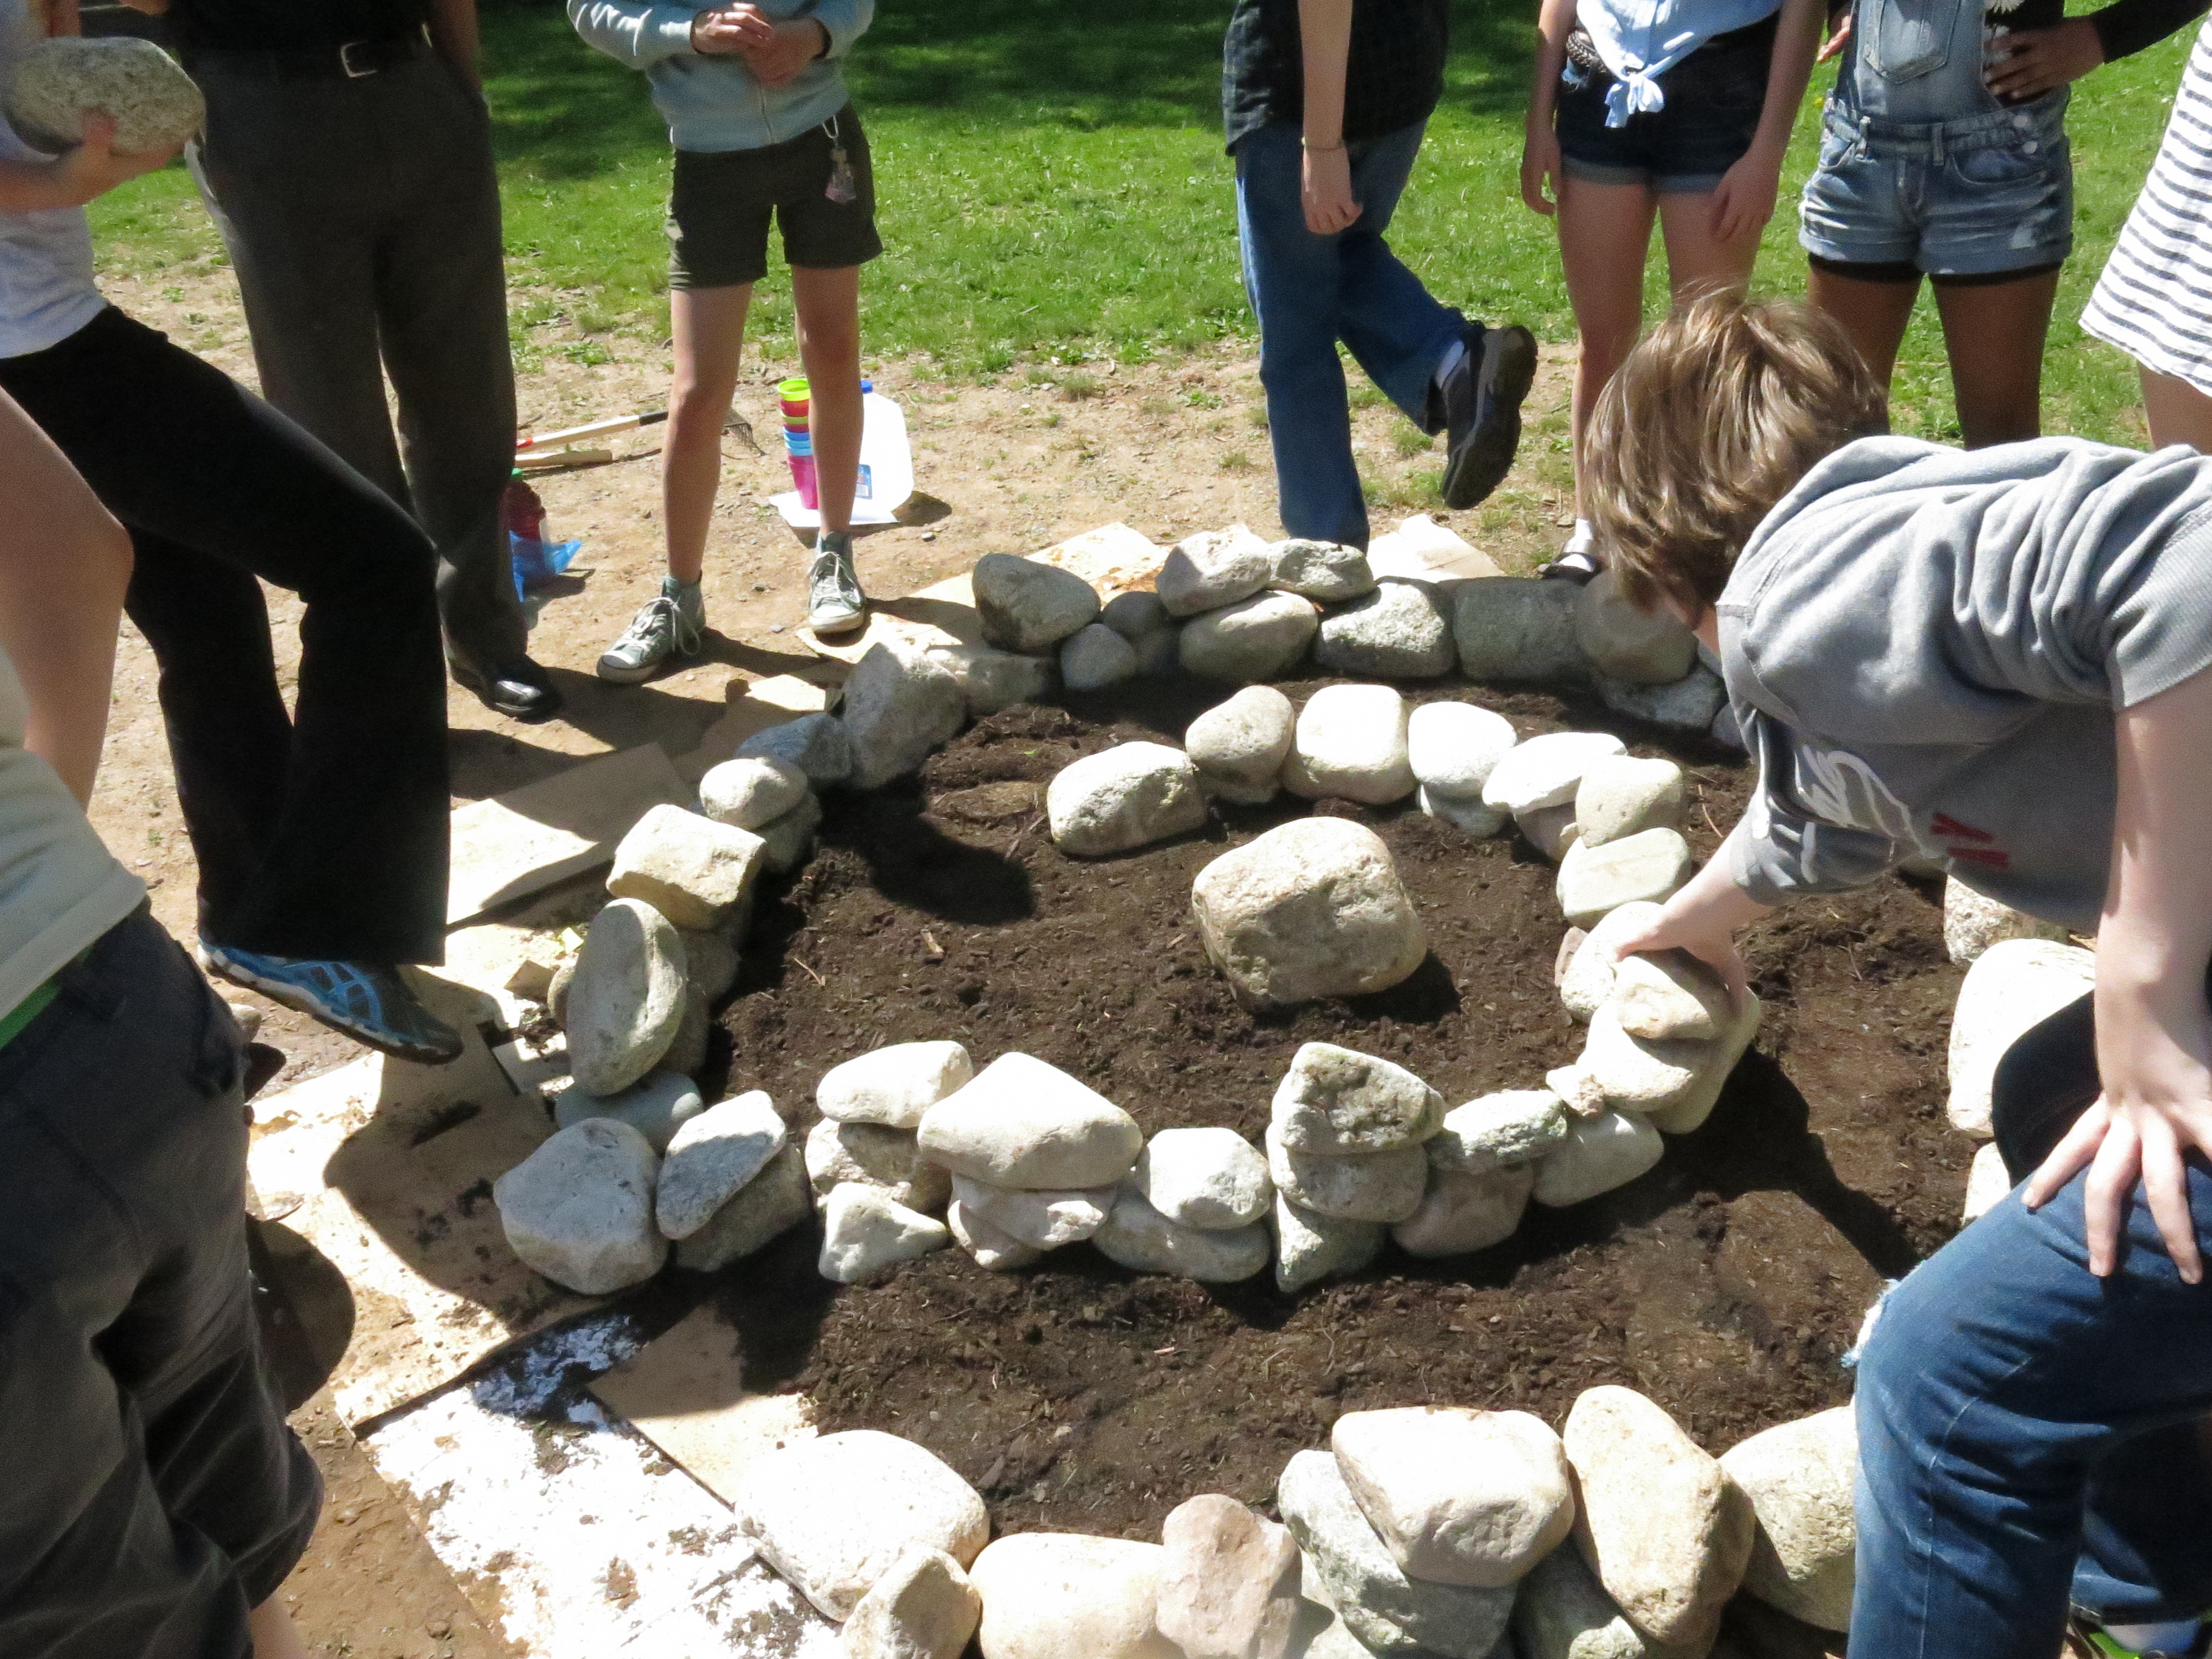
Phase II – Build the spiral UP!
 The second grade 8 class had the fun goal of building the tiers of the spiral from its foundation. Students practiced layering stones, ensuring there was stability by finding the flatter sizes of stones to build the walls of the spiral UPwards, filling it in with soil along the way.
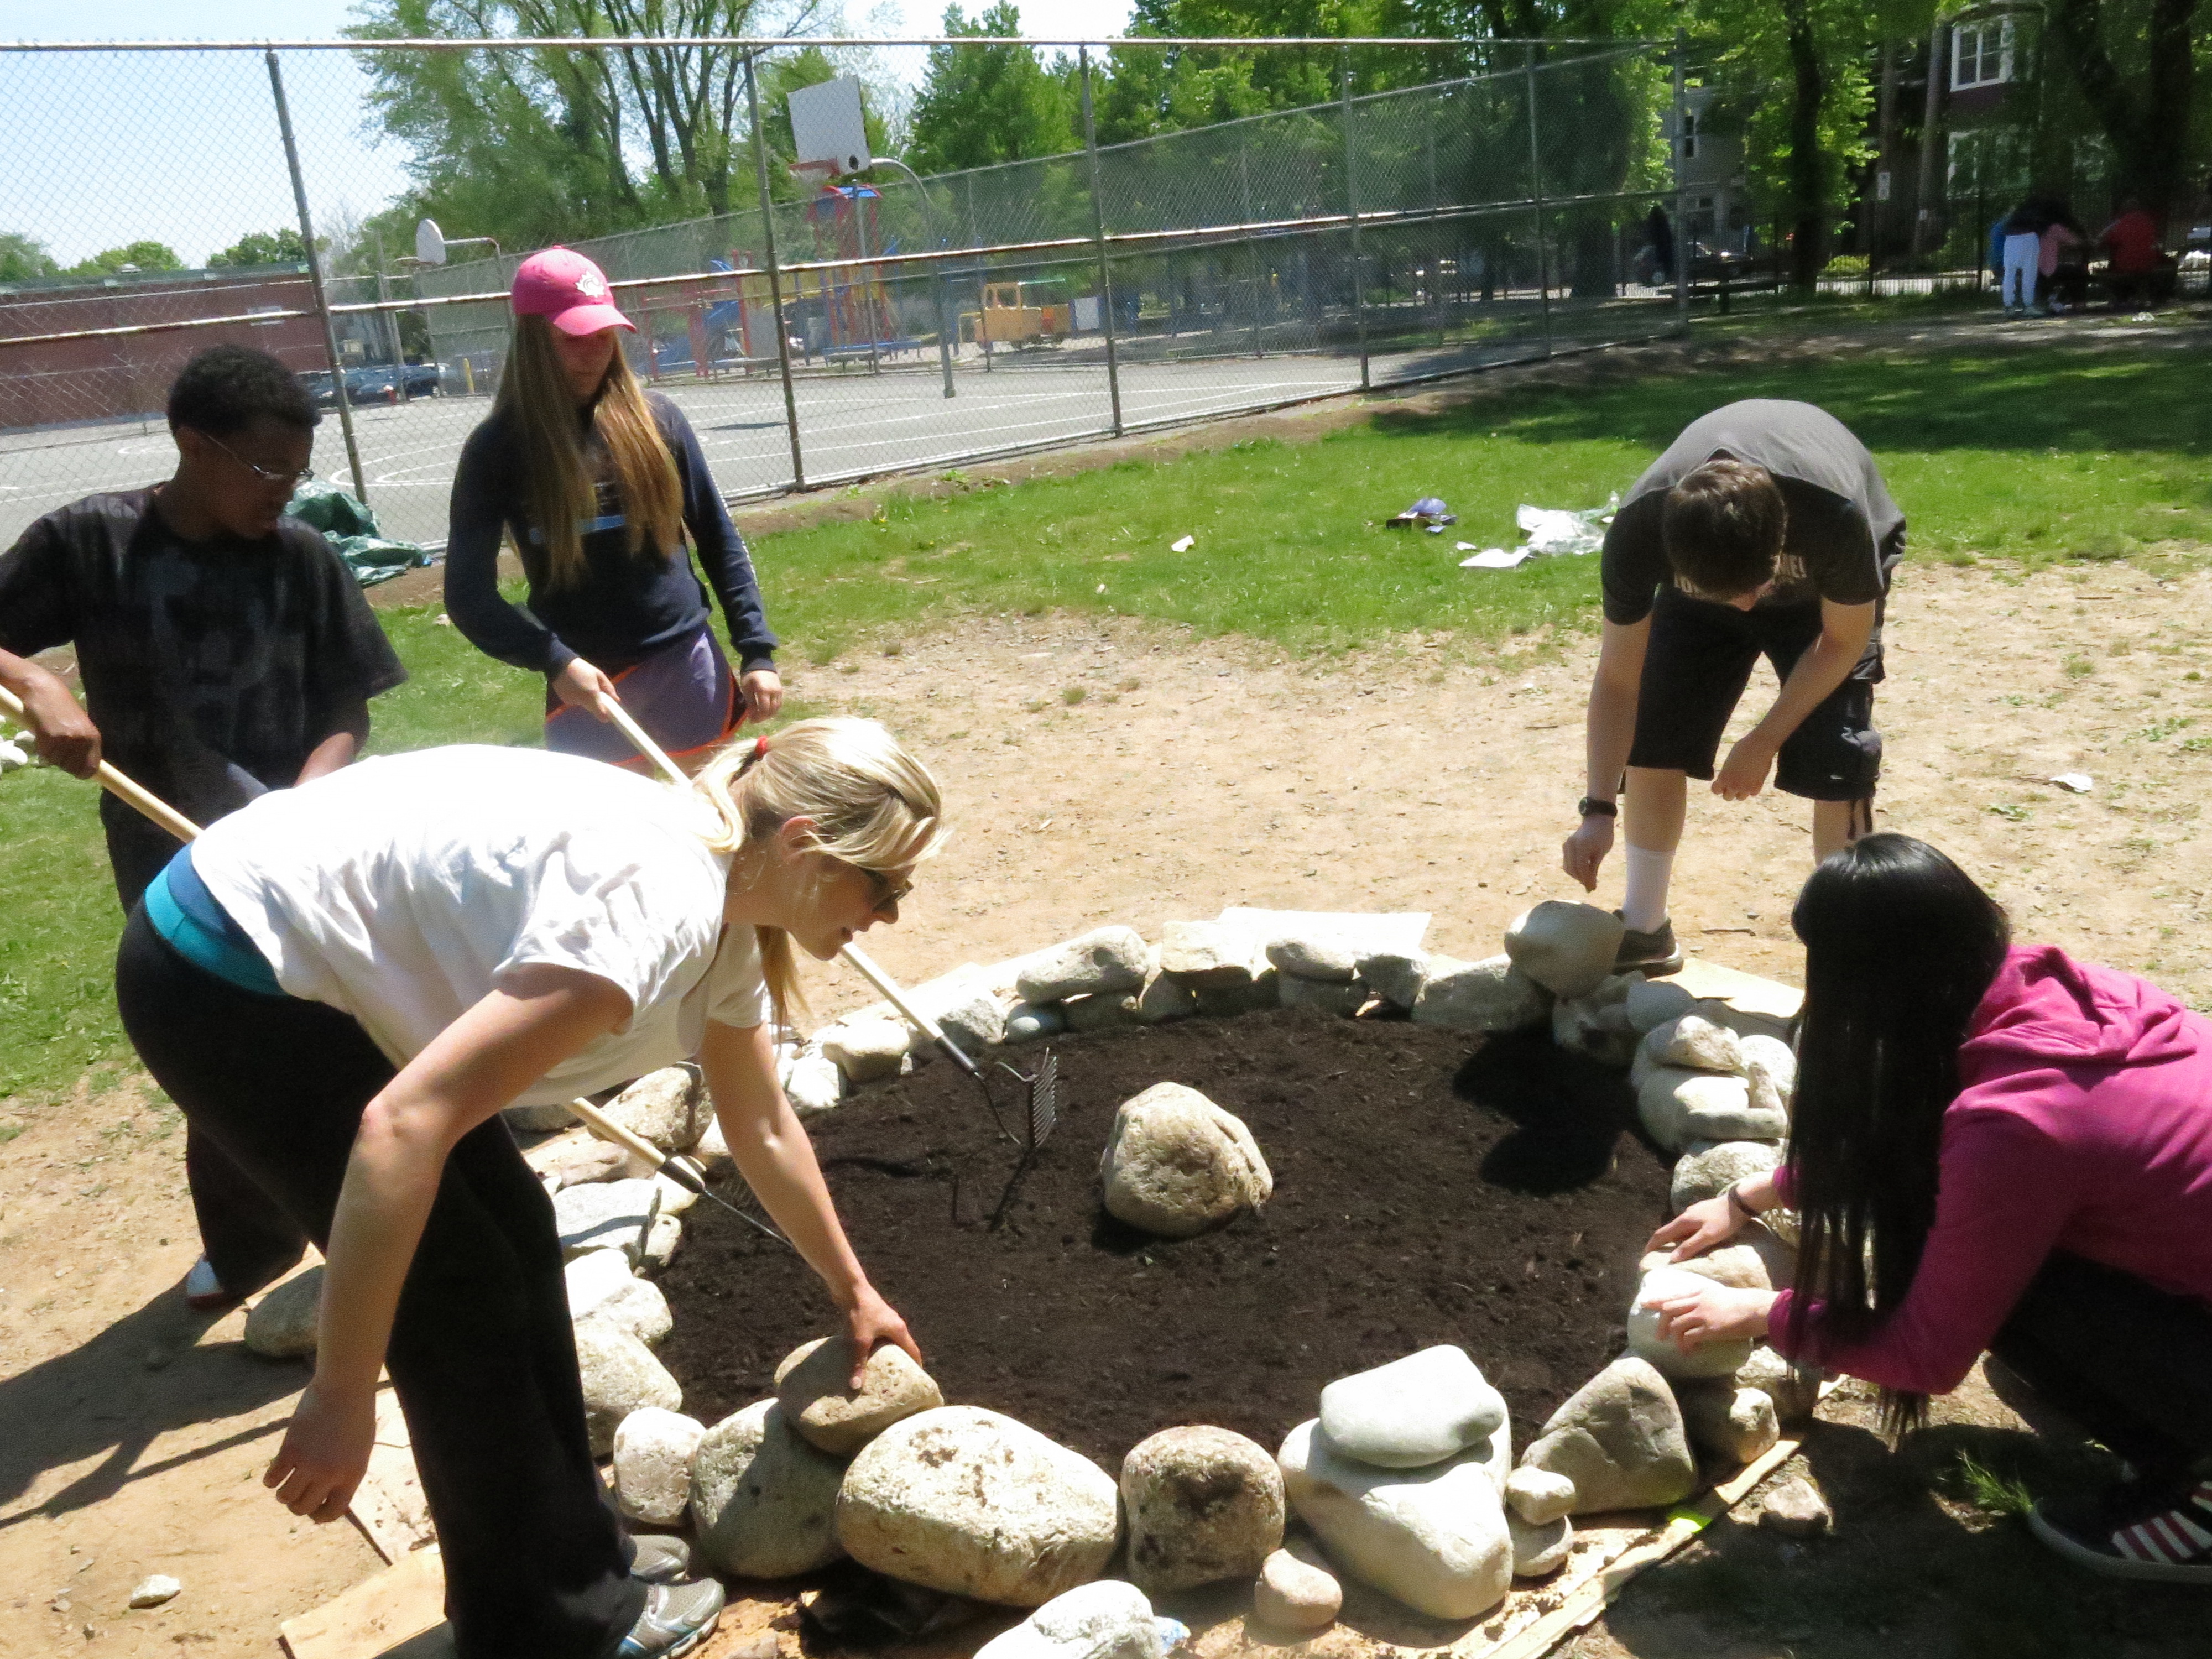
Phase III – Finishing touches & planting
The last class put the final touches on the spiral, piling more compost and soil into the structure to further secure the rocks into place and create the space for planting our herbs.
We decided on the following plants for the different sections of the spiral:

Top – oregano, lavender, thyme
Middle – borage, echinacea, bee balm, catmint walker’s low, sage
Bottom – lovage, chives and swamp milkweed (to attract the monarch butterflies!)
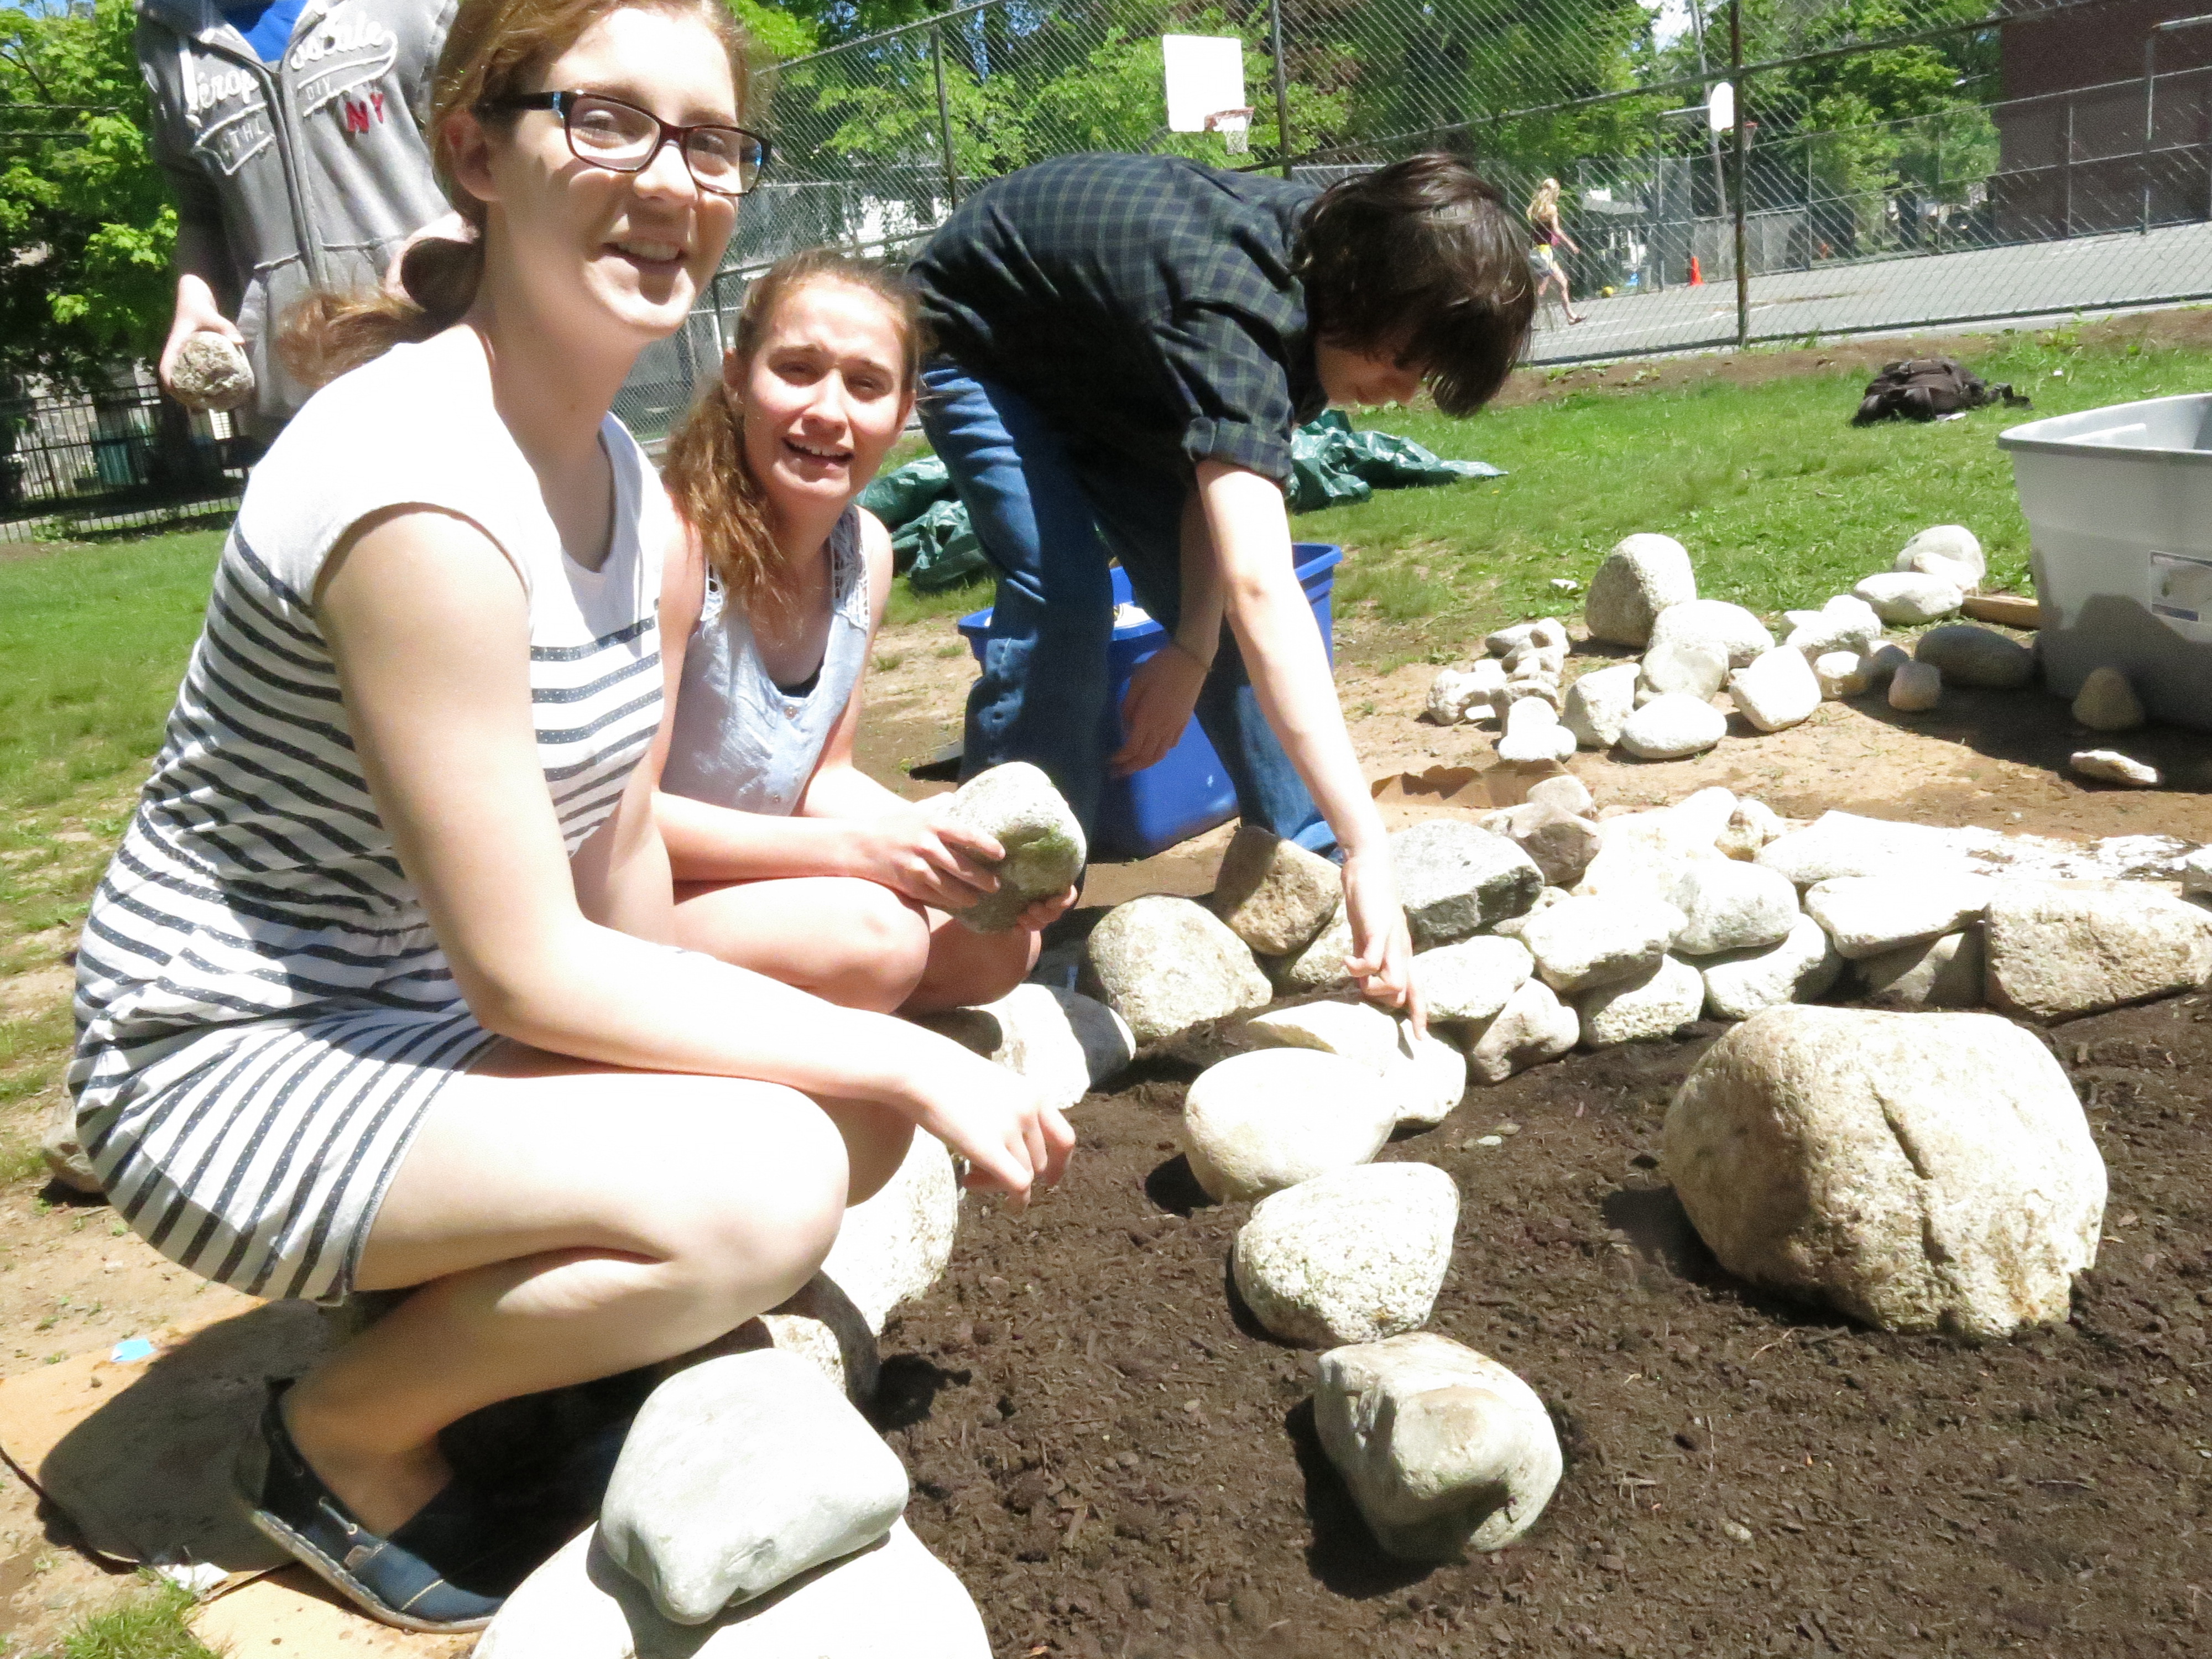
Overall, this three-part workshop was a success! We were able to work with students to create a design together and a structure that can be used and enjoyed by the school community. Students were encouraged to come back to pick herbs with their families and friends and to offer the herbs to be used in the school cooking programs. One student asked if he could take the design home in the hopes of building one at his house. The exercise itself seemed to extend beyond the school grounds and into the surrounding community. A couple neighbours visited out of curiosity—they were pleased that we were working together to create this, and by creating it they thought we were not only beautifying the school yard but also their street and our community.
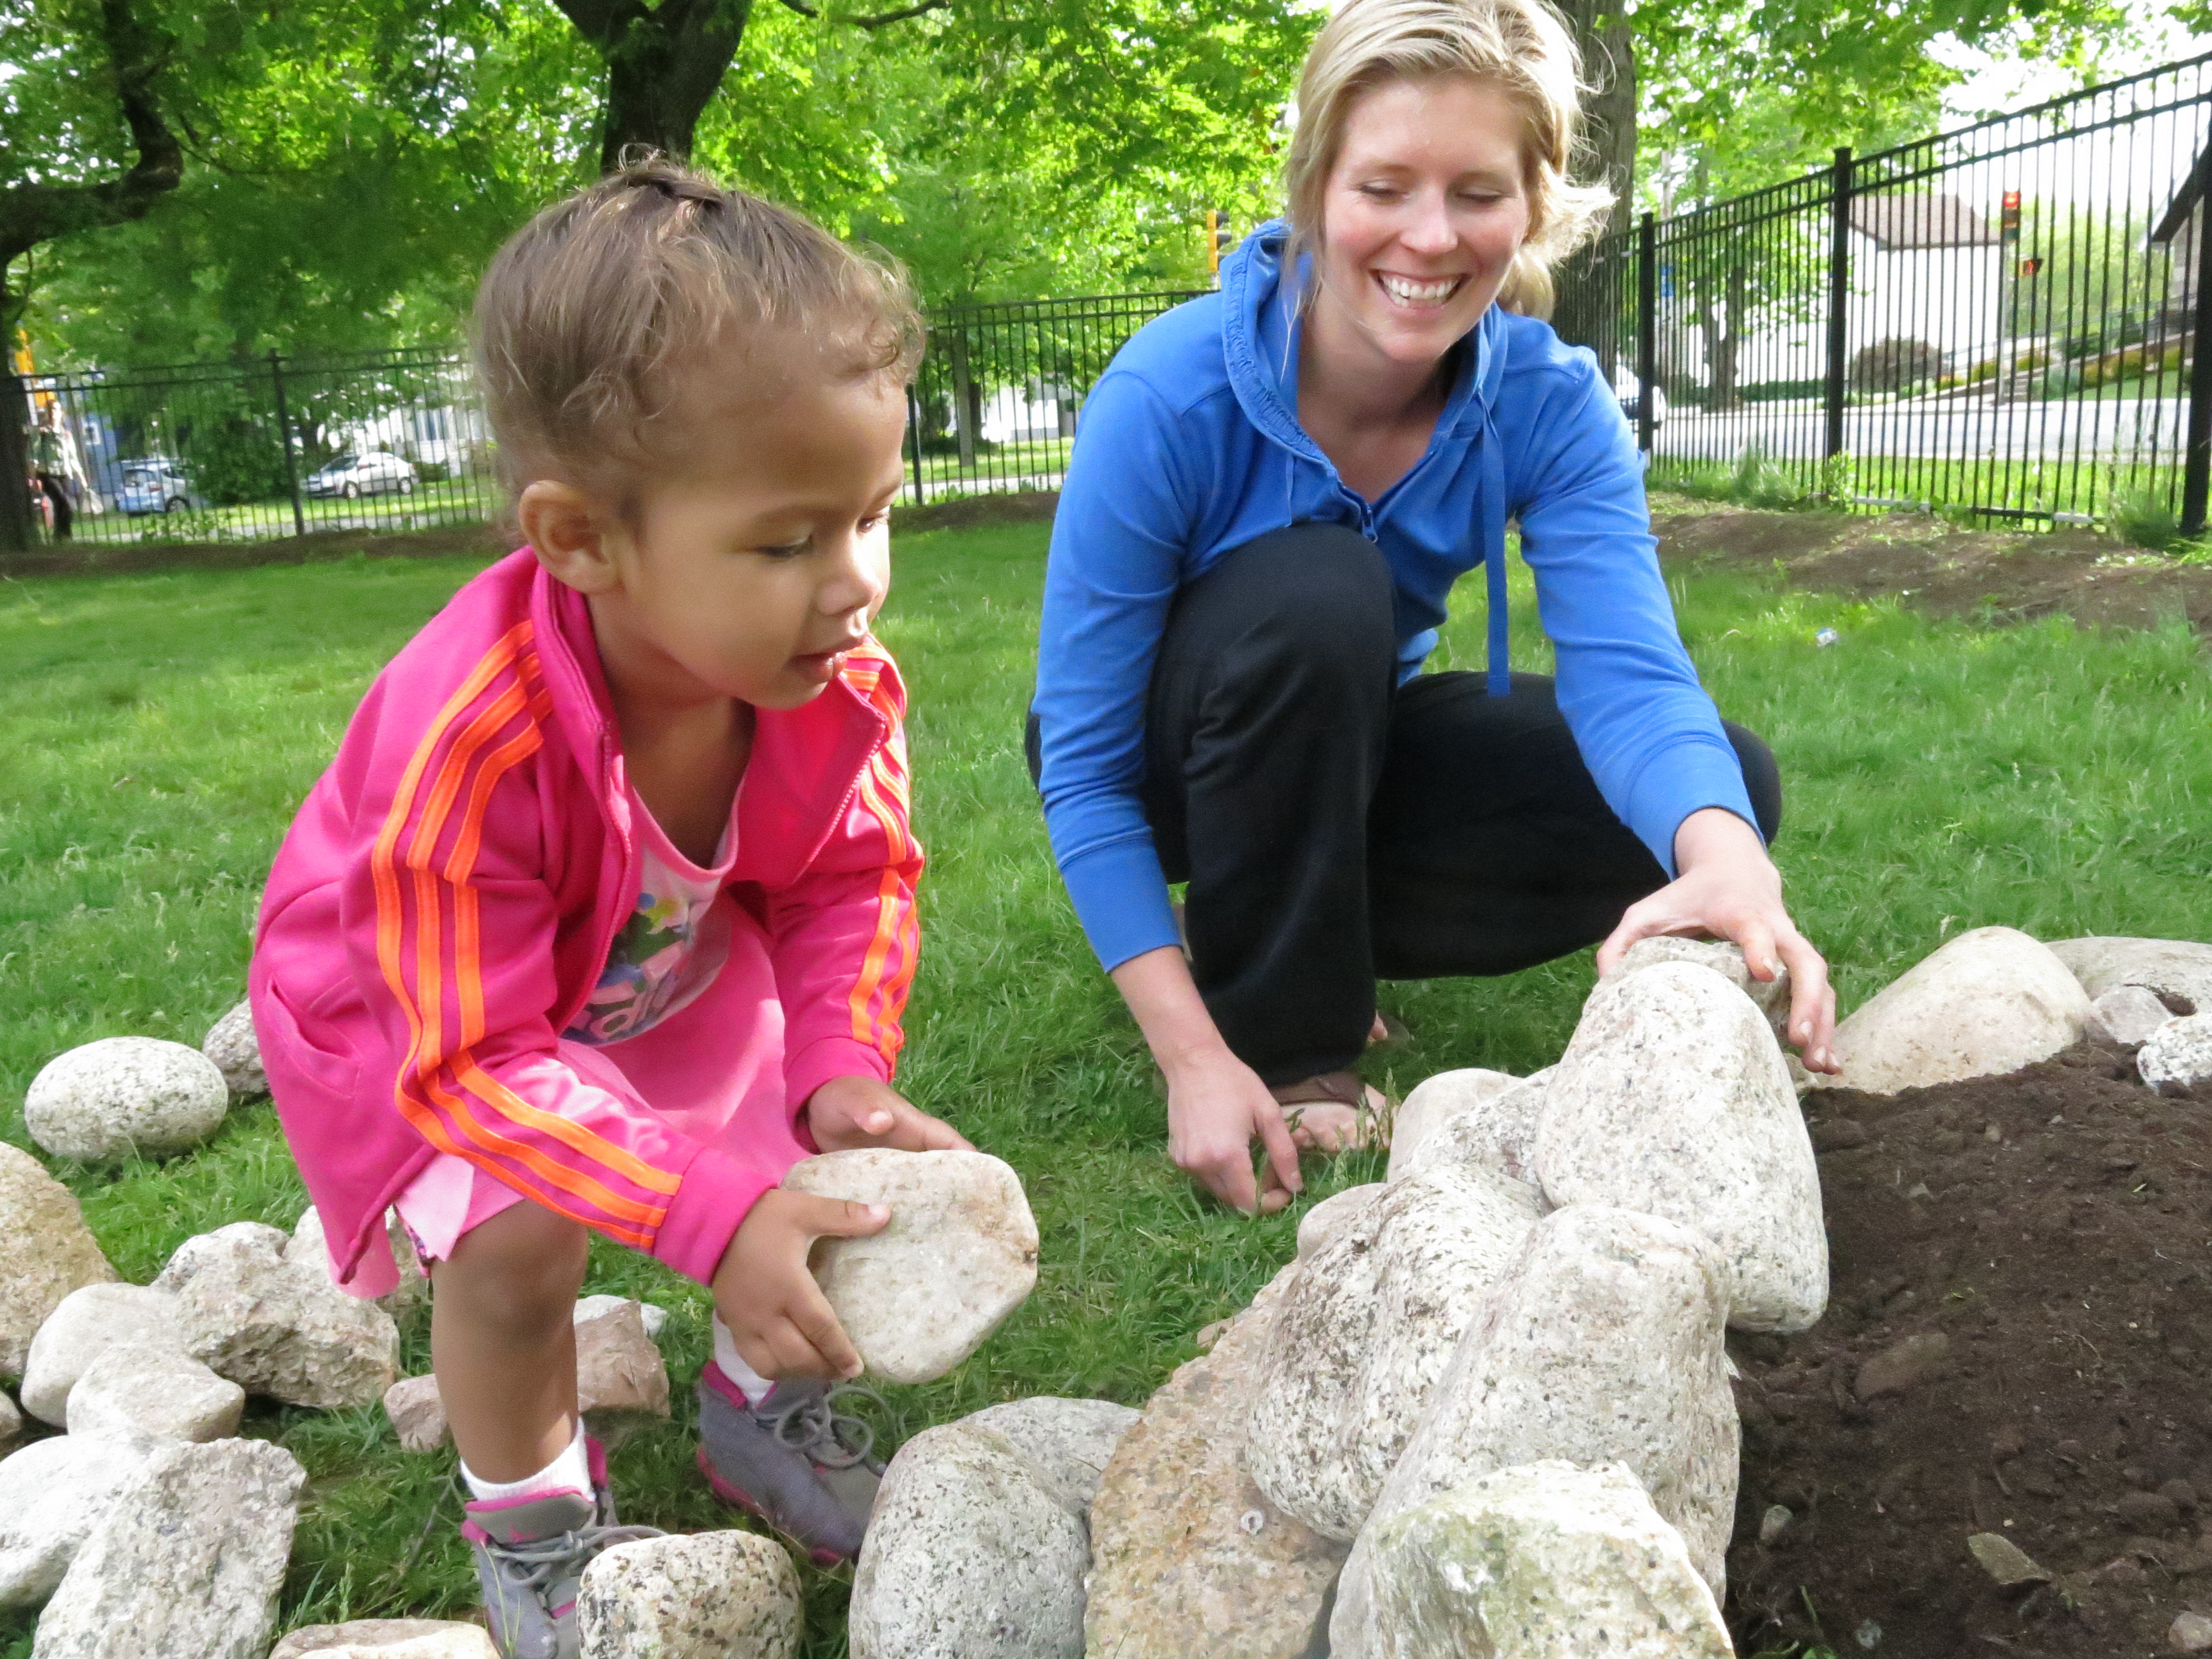
We even attracted the interest of a very young helper who put the final stones into place.
Written by Laura Mather, Community Food Coordinator – Youth Focus.

![]()