Meta Title: How To Drill Through Ceramic Tile Without Cracking It
Meta Description: Learn how to drill through ceramic tile safely and effectively with our step-by-step guide, tips, and troubleshooting advice.
Drilling through ceramic tile can feel like a nerve-wracking task. After all, one wrong move could result in cracked tile, extra expenses, and plenty of frustration. But with the right tools, techniques, and patience, you can get the job done cleanly and efficiently.
Whether installing a towel rack, mounting a mirror, or adding new fixtures, this guide will help you drill through ceramic tile without mishaps.
If you’re still deciding on the perfect tile for your space, The Tile Shoppe offers a wide selection of tiles, including ceramic, porcelain, and glass. For inspiration and to explore their collection, visit their website. It’s a great resource for finding tiles that suit your style and needs.
Understanding Tile Types
Before you pick up a drill, you must identify the type of tile you’re working with. Not all tiles are created equal, and the method for drilling will depend on the material:
- Ceramic Tile
Common in homes due to its affordability and versatility. Ceramic tiles are relatively softer and easier to drill through than other types, but they still require care to avoid chipping.
- Porcelain Tile
Denser and harder than ceramic, porcelain is more challenging to drill through. It demands specialized tools like diamond-tipped drill bits.
- Glass Tile
Delicate and prone to cracking, glass tiles need extra caution and a steady hand. Use a diamond drill bit and keep the area cool to prevent damage.
Knowing your tile type allows you to select the right tools and approach for a successful drilling process.
Tools You’ll Need
The key to drilling through tile is using the proper tools. Here’s a list of what you’ll need:
- Drill Bits
For ceramic tiles, a carbide-tipped masonry bit works well. For porcelain or glass tiles, invest in a diamond-tipped bit.
- Power Drill
Either corded or cordless will work, but avoid hammer drills as they can crack the tile.
- Masking Tape
Helps prevent drill bit slippage.
- Marker or Pencil
For precise marking of your drill points.
- Spray Bottle with Water
Keeps the drill bit cool and minimizes dust.
- Safety Gear
Protective glasses, gloves, and a dust mask.
- Level
Ensures accuracy, especially for multiple drill points.
- Vacuum or Damp Cloth
For cleaning up dust and debris.
Step-By-Step Guide to Drilling Through Tile

Follow these steps to drill through ceramic tile successfully:
1. Plan and Measure Carefully
Start by determining the exact placement of your holes. Use a tape measure to mark the spot where you need to drill on the tile. Double-check your measurements, especially if drilling for hardware with multiple mounting points. Use a level to ensure alignment.
2. Apply Masking Tape
Place a piece of masking tape over the area where you’ll drill. This prevents the drill bit from slipping and gives you better control. Mark your drilling spot directly on the tape for visibility.
3. Prepare Your Workspace
Clear the surrounding area to avoid accidental damage and ensure ample lighting. If you’re drilling near plumbing or electrical lines, consult a professional to avoid mishaps.
4. Start Drilling Slowly
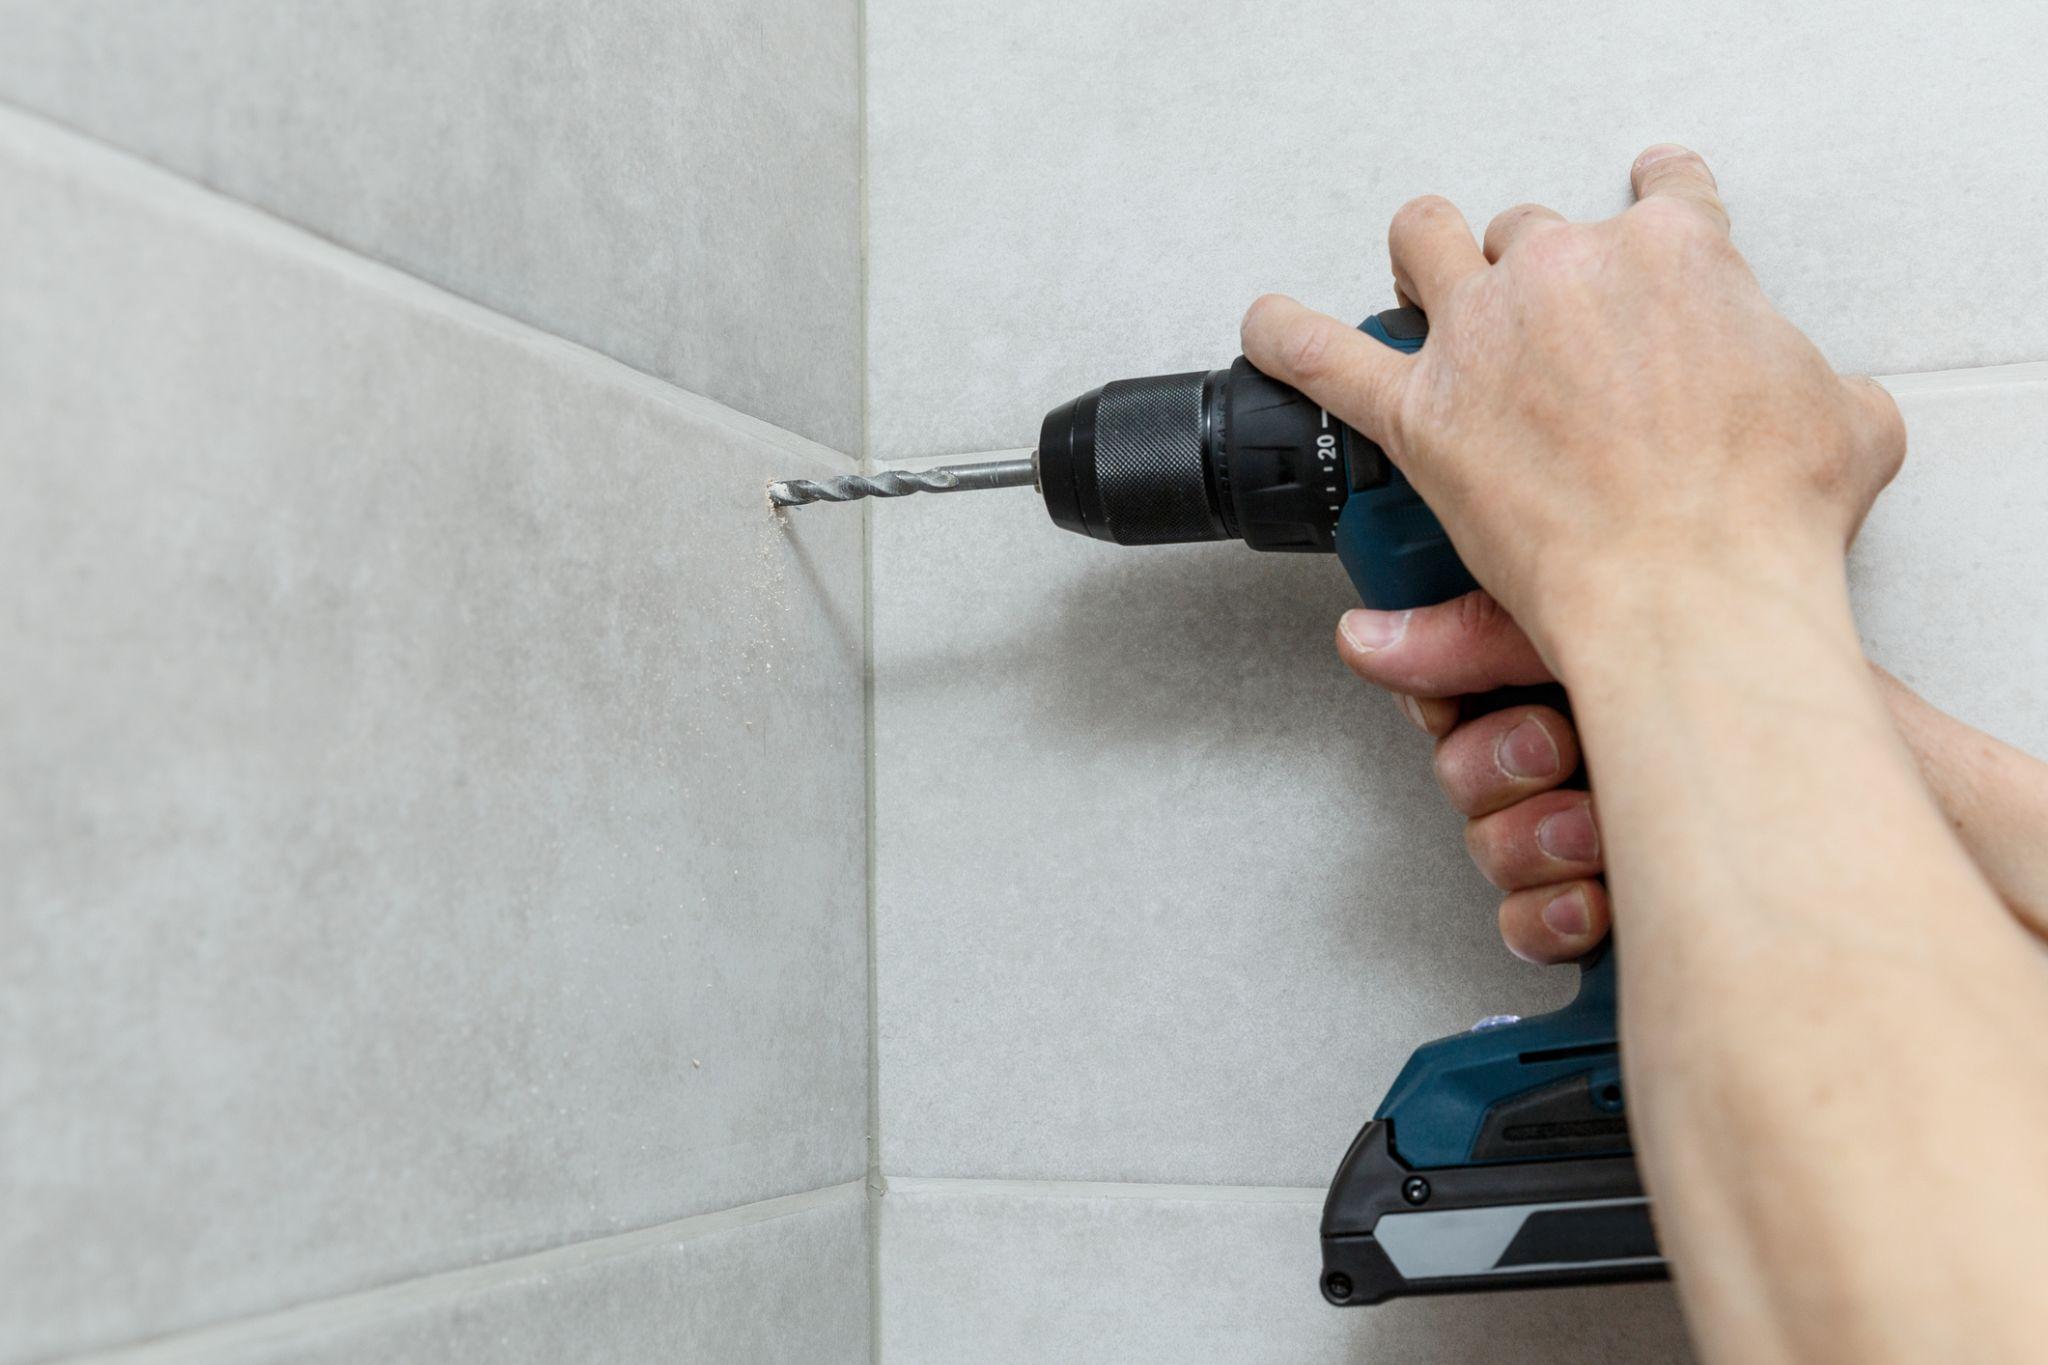
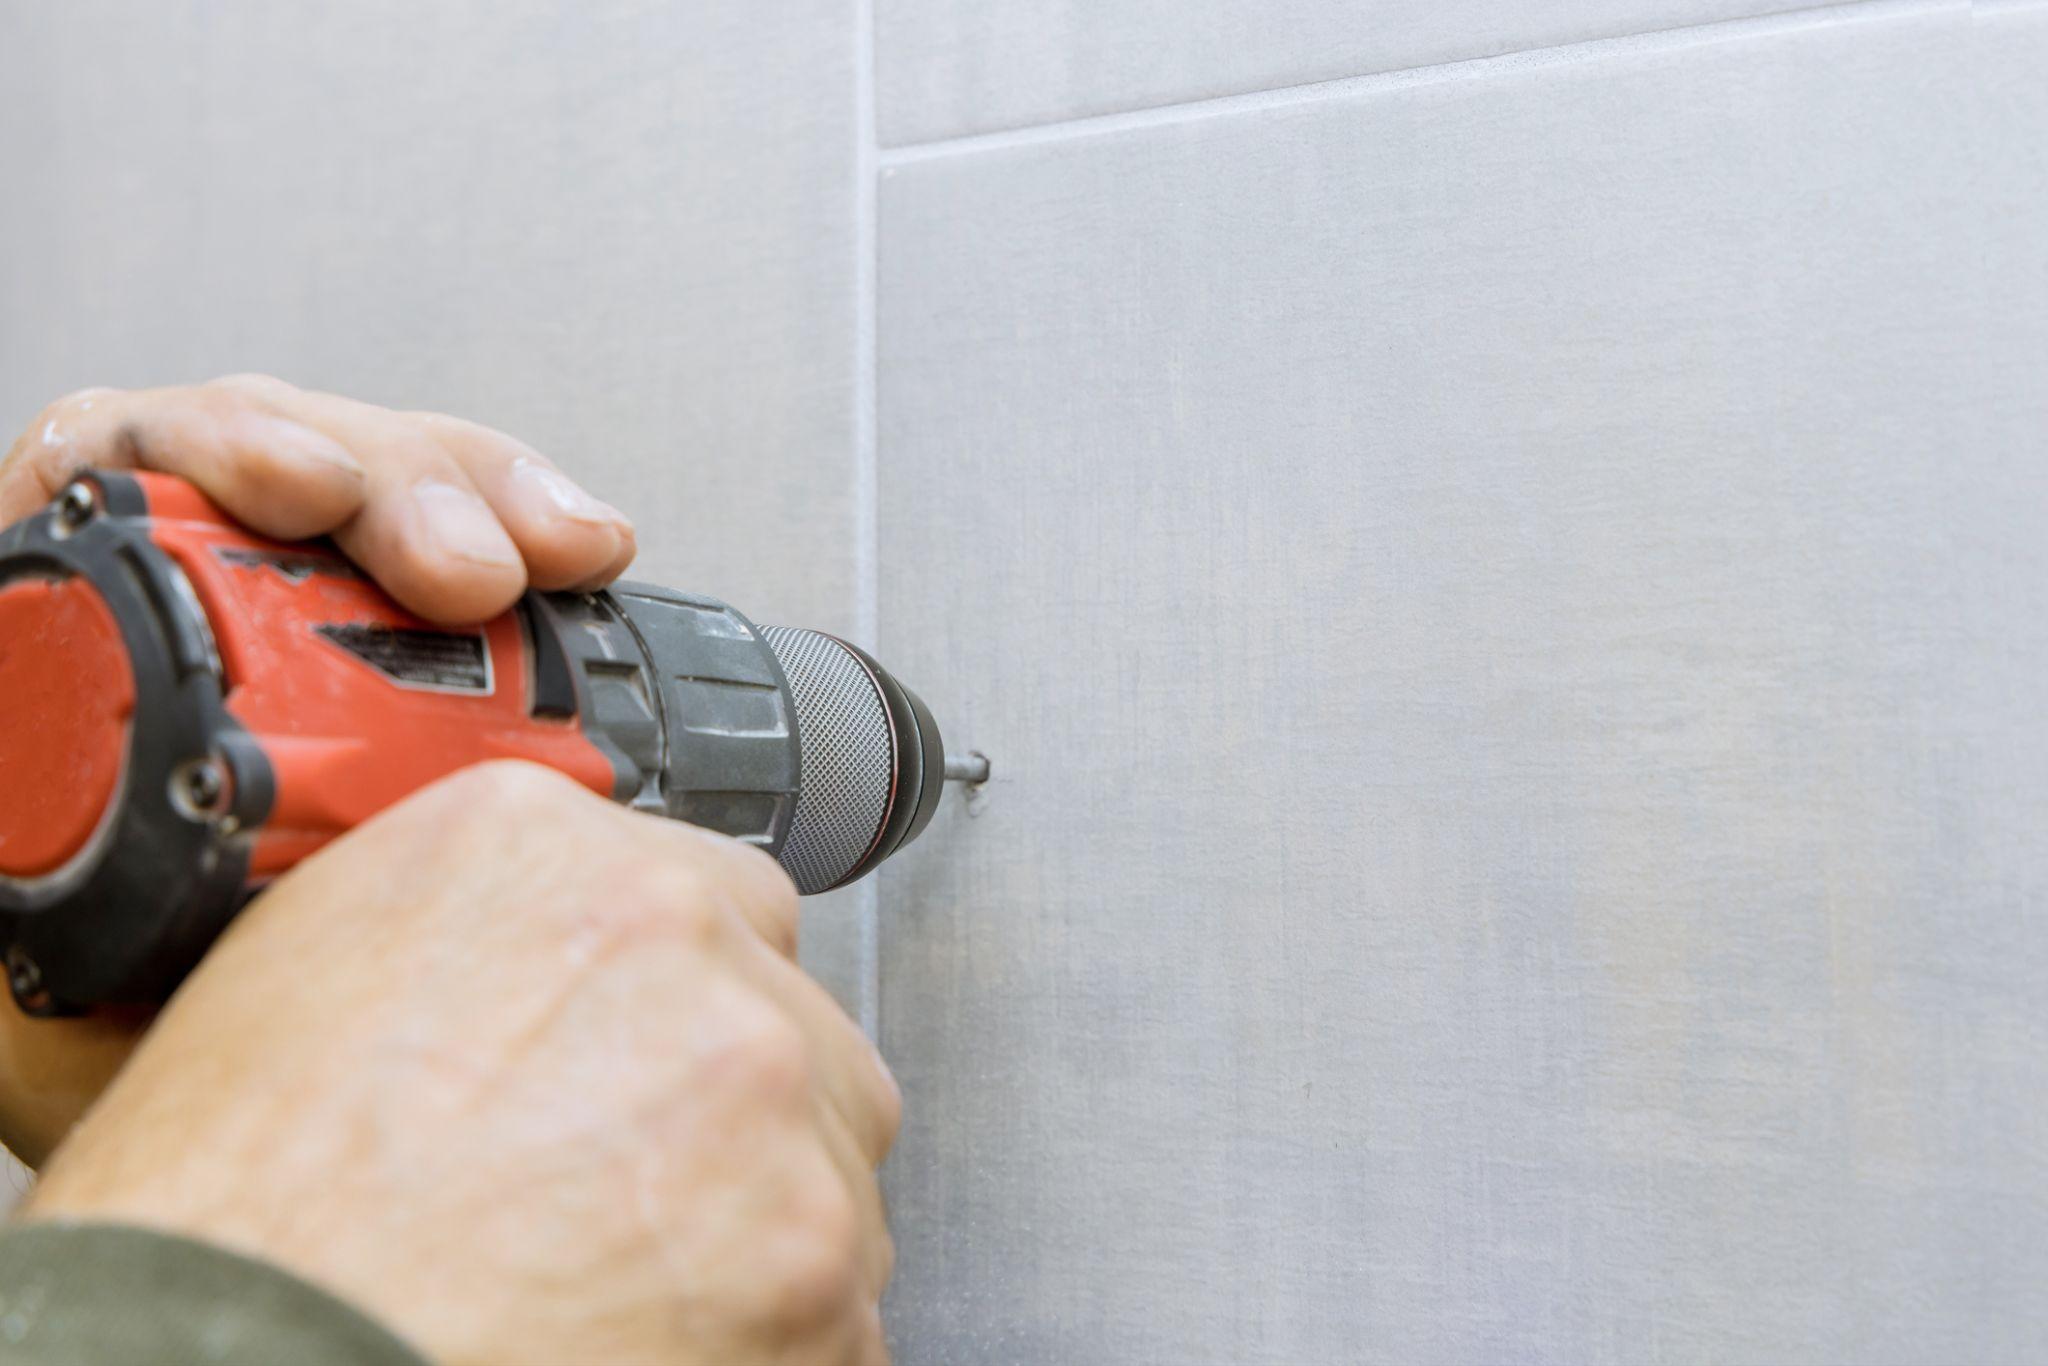
Attach the appropriate drill bit to your drill. Align the bit with your mark, and begin drilling at a low speed. Apply light pressure to avoid cracking the tile. The goal is to create a small indentation to guide the drill bit as you proceed.
5. Increase Speed Gradually
Once the drill bit has made a clear indentation, increase the speed slightly and maintain steady pressure. For ceramic tiles, medium speed usually works best. Keep a spray bottle handy for porcelain or glass tiles to cool the drill bit and prevent overheating.
6. Break Through the Tile
As you near the end of the tile, reduce pressure to avoid chipping the edges. Once the drill bit has passed through the tile, you can speed up slightly to finish drilling into the backing material, such as drywall or cement board.
Tips for Larger Holes
For larger holes, such as those needed during installing tile floor hardware or plumbing fixtures, consider these steps:
- Select a carbide-grit or diamond-tipped hole saw for clean cuts.
- Mark the center of the hole on the tile and attach the hole saw to your drill.
- Start at low speed to create a guide groove, then gradually increase speed while applying light, consistent pressure.
- Keep the area cool with water to prevent overheating and cracking.
For those without a hole saw, an alternative method involves drilling closely spaced small holes around the perimeter of the intended hole. Then, lightly tap the center with a hammer to remove the cut-out section. Smooth the edges with a tile file for a polished finish.
Troubleshooting Common Problems
Despite careful preparation, you may encounter some challenges. Here’s how to handle them:
- Tile Cracks
Stop drilling immediately if the tile cracks. The fixture can sometimes hide minor cracks, but larger cracks may require replacing the tile.
- Drill Bit Slippage
Ensure the drill bit is sharp and appropriate for the tile type. Masking tape and slow speeds can help prevent slippage.
- Overheating
Use water to cool the drill bit and tile, especially when using harder materials like porcelain or glass.
Safety First
Always prioritize safety when working with power tools and tiles. Wear protective glasses to shield your eyes from debris, gloves to protect your hands, and a dust mask to avoid inhaling silica particles. Work in a well-ventilated area and take breaks to prevent fatigue.
Finishing Touches
Once you’ve successfully drilled through the tile, clean the area with a damp cloth or vacuum to remove dust and debris. If you’re installing hardware, ensure the screws fit snugly into the holes and use wall anchors if necessary for added stability.
Conclusion
Drilling through ceramic tile doesn’t have to be a daunting task. You can complete your project without cracking a single tile by understanding your tile type, using the right tools, and following these step-by-step instructions. Take your time and prioritize safety; soon enough, your bathroom or kitchen will have a flawless finish with securely mounted fixtures.


