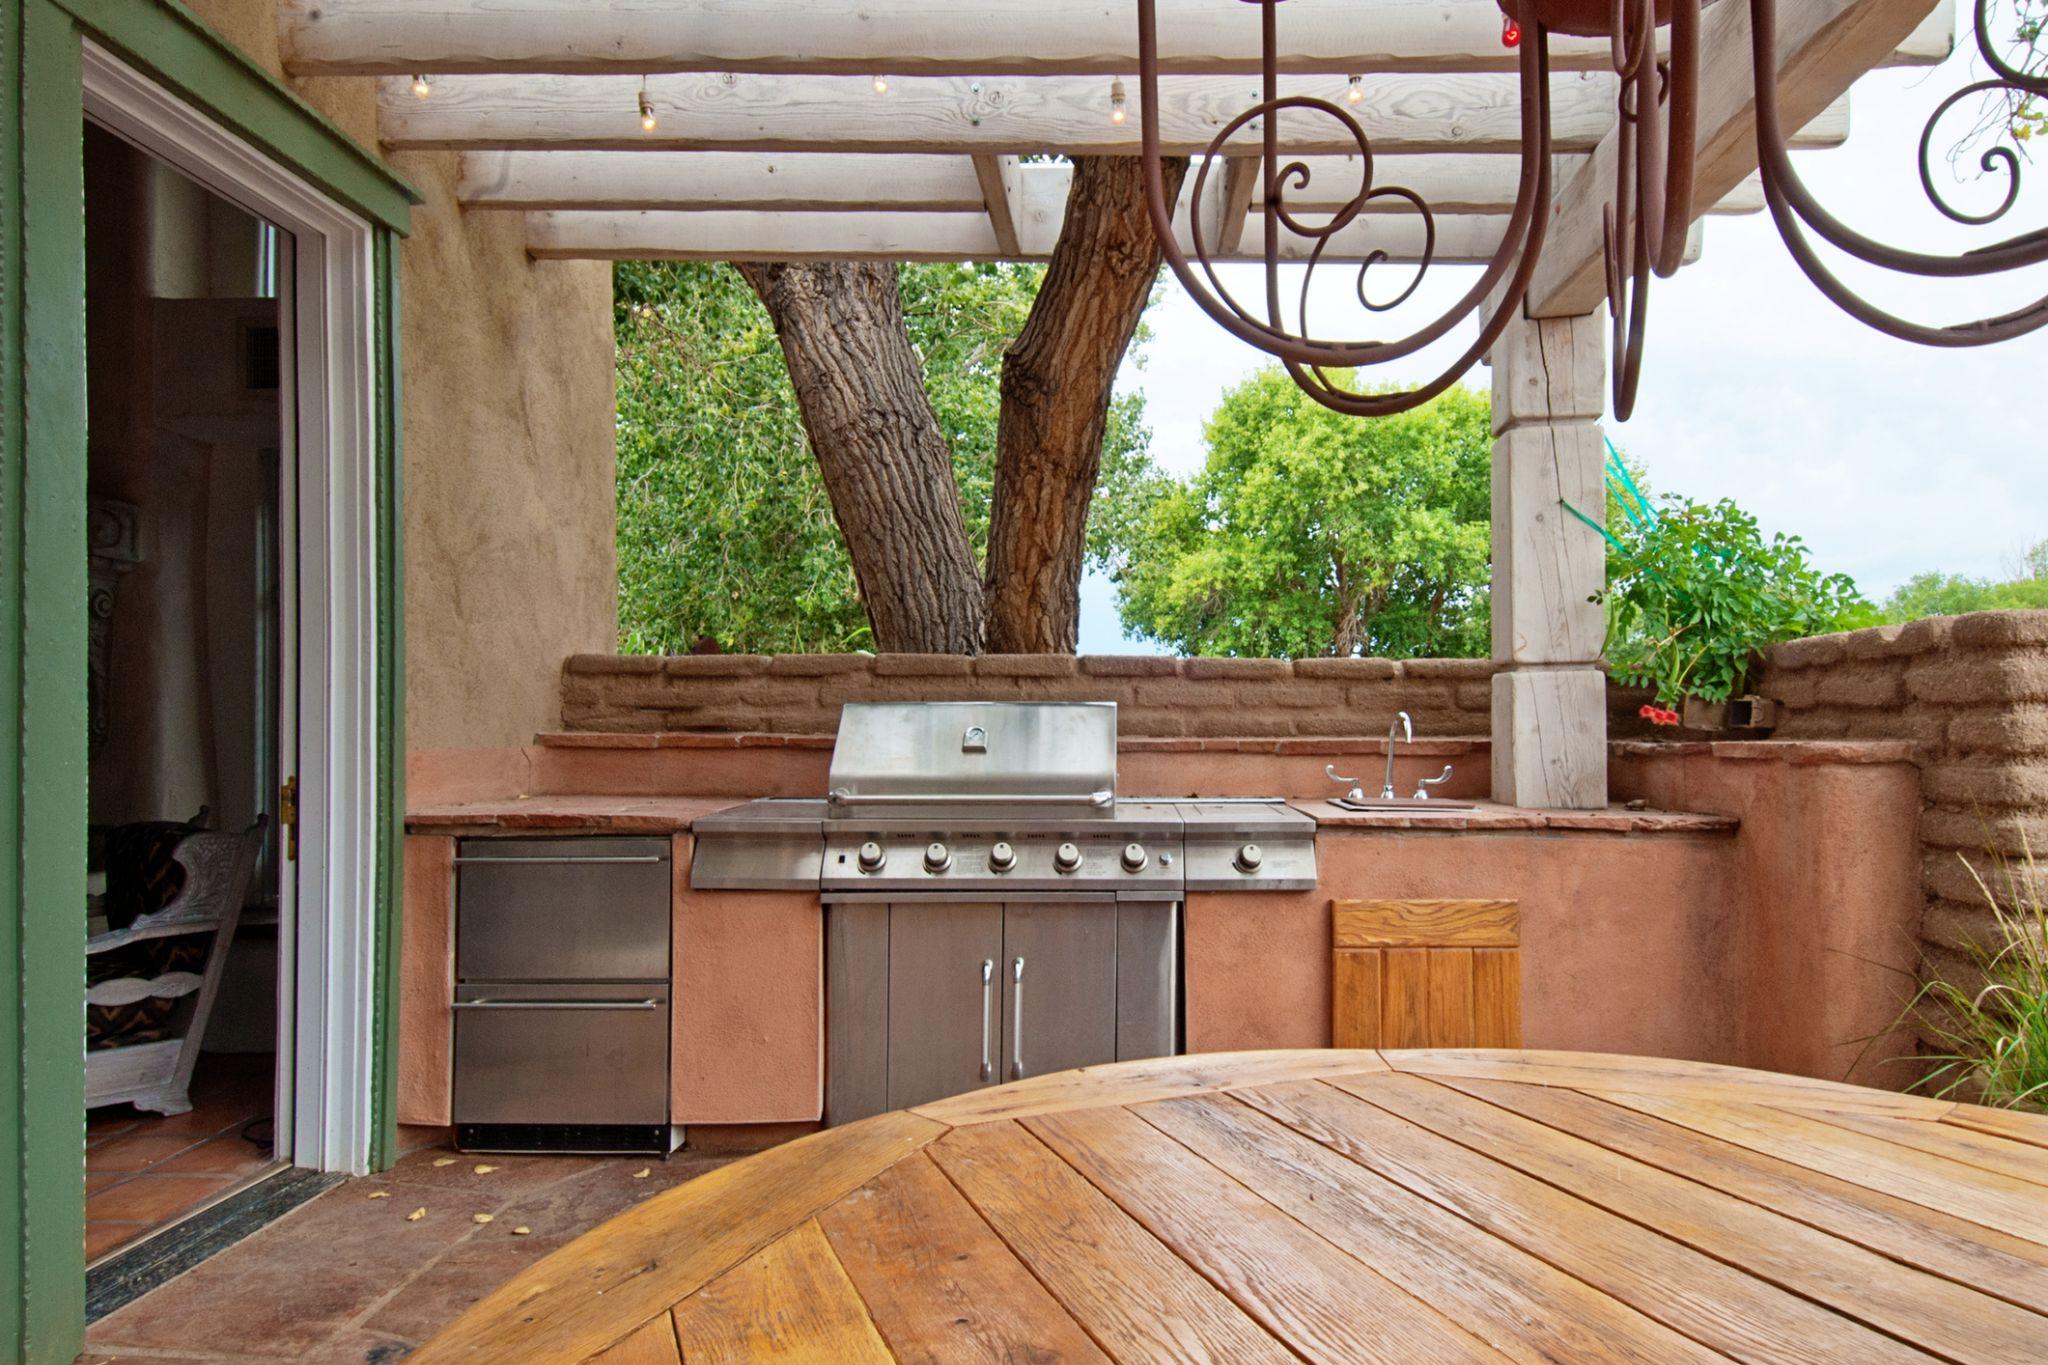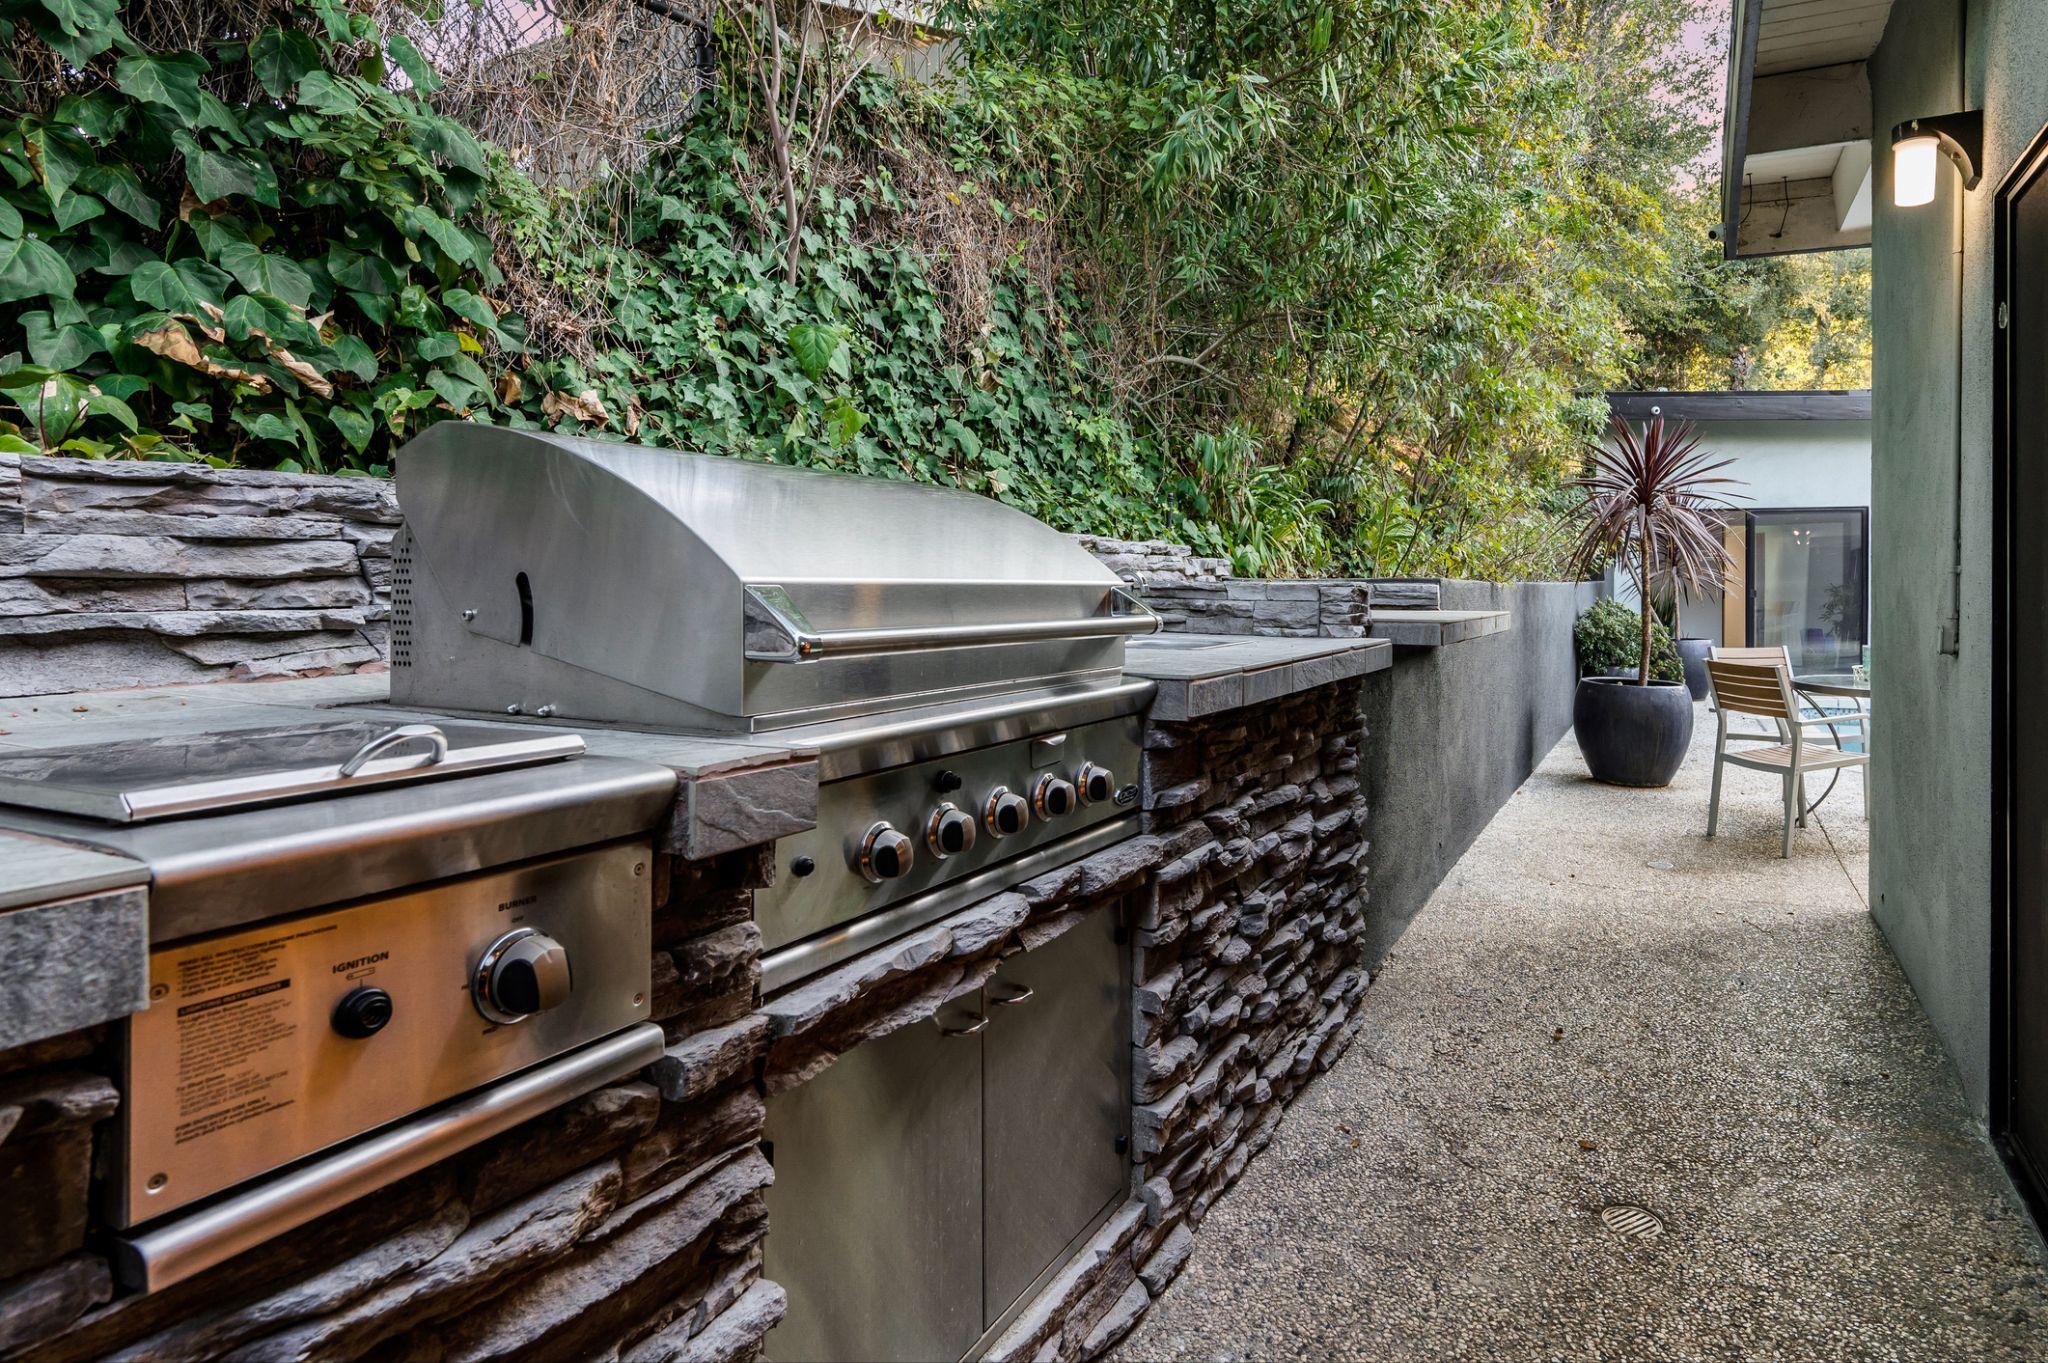
Installing a built-in BBQ grill is a fantastic way to elevate your outdoor space and make hosting gatherings or cooking meals an enjoyable experience. Whether you’re a seasoned DIY enthusiast or planning to hire professionals, this guide provides clear steps to ensure a smooth installation process.
1. Plan Your Installation
Location Matters Choose a safe and convenient location for your built-in BBQ. Ideally, it should be:
- Away from flammable materials like wooden fences or overhanging trees.
- Positioned with adequate ventilation to prevent smoke buildup.
- Accessible and close to utilities (gas or electricity) while maintaining a comfortable distance from your indoor kitchen.
Measure Your Space
Take accurate measurements of the designated area and ensure there is enough room for the grill, counter space, and any additional features you plan to include, such as side burners or storage. Consider how outdoor barbeque inserts can seamlessly integrate into your design for a sleek and functional setup.
Design Your Outdoor Kitchen
Plan a layout that fits your space and needs. Sketch your vision, including countertops, cabinets, and other features, to visualize how everything will fit together.
2. Choose the Right Built-In Grill
Key Factors to Consider:
- Fuel Type
Decide whether you want a natural gas, propane, or electric grill. Each has advantages, but natural gas is often the most convenient for a built-in setup. To learn more about these grills and find which one is the best for you, go to https://www.homesandgardens.com/gardens/electric-grills-vs-gas-grills.
- Size and Cooking Area
Match the grill size to your cooking needs. Larger grills are great for entertaining, while compact models suit smaller spaces.
- Material Quality
Opt for weather-resistant materials like stainless steel to ensure durability.
- Features
Look for add-ons like rotisserie burners, smoker boxes, or temperature gauges to enhance your grilling experience.
3. Prepare the Site
3.1. Clear and Level the Ground
Start by clearing the designated area of debris and levelling the surface. A stable base is essential to support the grill and prevent uneven cooking surfaces.
3.2. Install a Strong Foundation.
A concrete or stone base is ideal for most built-in BBQs. This ensures stability and prevents movement over time.
4. Build the Frame
4.1. Select Non-Combustible Materials
Constructing the frame using metal studs, concrete blocks, or other fire-resistant materials. Avoid wood or other flammable materials.
4.2. Follow the Manufacturer’s Specifications
Every grill model has specific installation requirements. Adhere to these guidelines for proper fit and ventilation.
4.3. Add Insulation
If cabinets or counters surround your grill, consider adding an insulation jacket to protect nearby materials from heat.
5. Install Utilities
Gas Lines
- Hire a licensed plumber to install gas lines. This ensures safety and compliance with local codes.
- Perform a leak test after installation using a soapy water solution.
Electrical Connections
- If your grill has electrical components, such as lights or rotisserie motors, have a professional electrician handle the wiring.
- Use weatherproof outlets to protect against outdoor conditions.
6. Mount the Grill
6.1. Set the Grill in Place
Carefully lower the grill into the frame, ensuring it aligns with the opening. Double-check that it sits securely and level.
6.2. Secure the Grill
Follow the manufacturer’s instructions to anchor the grill properly. This prevents any movement during use.
7. Add Finishing Touches

7.1. Countertops and Surrounds
Install countertops around the grill using materials like granite, concrete, or tile. These materials are heat-resistant and easy to clean.
7.2. Storage and Accessories
Incorporate storage cabinets, utensil hooks, or even a mini fridge to complete your outdoor kitchen setup.
7.3. Finishing Materials
Apply stone veneer, stucco, or other decorative finishes to the frame to match your outdoor aesthetic.
8. Test Your Grill
Before firing up your new BBQ, test all utilities and components:
- Gas Flow: Check for leaks and ensure a steady supply.
- Burner Functionality: Ignite each burner to confirm even heat distribution.
- Electrical Features: Test lights, rotisserie motors, or other electronic elements.
Tips for a Safe and Functional Setup
- Ventilation
Ensure proper airflow around the grill to prevent heat buildup and gas accumulation.
- Maintenance Access
Leave space for servicing gas lines, burners, or other components.
- Fire Safety
Keep a fire extinguisher nearby and avoid grilling in high winds.
- Routine Cleaning
Regularly clean burners, grates, and drip trays to maintain performance and safety.
Common Mistakes to Avoid
- Skipping Permits: Check local regulations to see if permits are required for gas or electrical work.
- Using Flammable Materials: Avoid wooden frames or counters near the grill.
- Ignoring Manufacturer Instructions: Failing to follow specific guidelines can lead to unsafe conditions or void warranties.
Conclusion
Installing a built-in BBQ grill can transform your backyard into a functional and stylish cooking space. With careful planning, quality materials, and professional assistance for utilities, your outdoor kitchen will become the heart of your home’s entertaining area. Follow this guide to create a space that’s practical and a joy to use for years to come.

