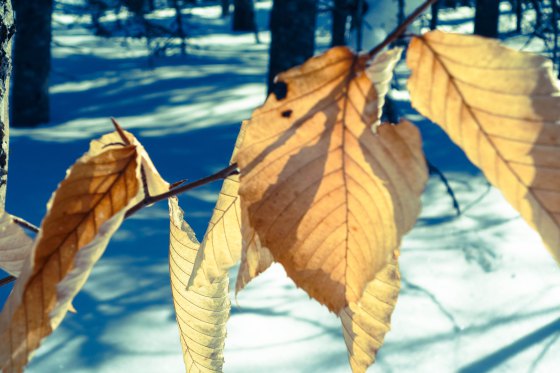
Natures Sweet Gift. We know it’s part of our heritage (remember this) but how many of us can actually say we know how to make maple syrup?
Perhaps, we’re in the same boat? And you are know the familiar tale of warm days + cool nights = tree awakening and sape running but how many of us have actually drilled a hole in a maple?
I for one, have not.
Until Now.
Turns out, it’s not rocket science….And now you can too.
So let’s get tappin!
First. As Maple Maker Neophytes, lets start with some basics:
-In Nova Scotia, Cumberland County is syrup country with ~50% of the commercial maple operations in Nova Scotia and ~75% of the taps and production.
– It takes roughly 40 gallons of sap to make one gallon syrup. Yes, that means a lot of boiling. This ratio will vary depending on the sugar content of the sap- the more sugar, the less sap you’ll need.
-Generally, they say 6 taps will give you 1 gallon of sap. Depending on the size of the tree, you may have more than one tap in a tree.
-It’s estimated, the cost of making maple syrup on an electric stove works out to be 1/3rd the actual retail cost for pure maple syrup. It’s more cost effective (and less messy) to boil down outside over a wood fired rig, but this isn’t possible for everyone.
Now, without further ado, here are:
6 Steps to Make Your Own Maple Syrup
Based on directions from the friends of Pippy Park
1. Picking a Tree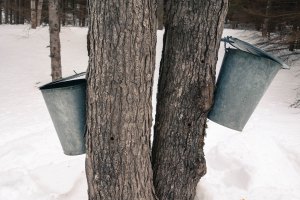
Trees should be at least 1’ in diameter at the largest point to provide sufficient sap. You will only be collecting 5% of the tree’s sap so you shouldnt hurt the tree.
Any maple will do, however, you’ll get the most syrup for your efforts with a sugar maple. They have a higher sugar content so their sap does not need to be reduced as much.
2. Sanitizing Your Equipment
Scrub taps, buckets and lids, with one part bleach to two parts water.
Rinse with hot water.
3. Setting up your Equipment
Your bucket should be secured via rope to the trunk of the tree within 3 feet of where you plan to tap.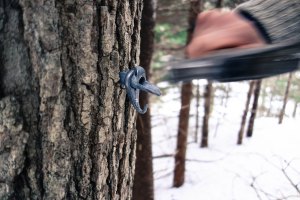
Using a 19/64 (or 5/16) drill bit, drill 2.5”deep at a 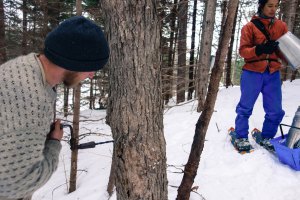 slight upwards angle (so sap will be running down) at least 3’ off the ground.
Clear the wood shavings and insert the tap (aka spile), pressing it in as far as possible. You might have to tap it lightly with a hammer.
4. Collecting Sap
Sap or maple water will only flow at above freezing temperatures but the flow increases with 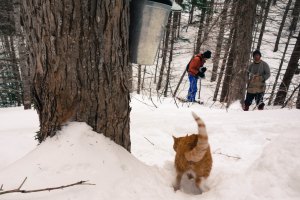 fluctuations in the weather (from above to below freezing frequently). Depending on the weather, your sap may need to be transferred to a storage container every 2 to 3 days.
You can boil off sap as often as you need but should not wait longer than 2 weeks from collection. Sap is like fruit juice; it will spoil if not kept cool. Keep covered in snow or in a fridge until you are ready to boil off.
Maple water without reducing is quite healthy, containing over 46 nutrients. In order to ensure bacteria is not present, it is recommended you bring the maple water to a rolling boil for one minute before cooling and consuming as water.
5. Reducing Sap to Syrup
This is the time-consuming part. Around 90% of the sap will need to be boiled off in the form of steam to get syrup.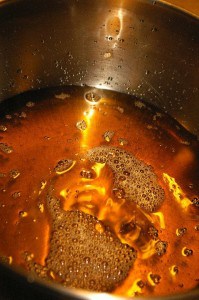
Some choose to leave the syrup a little thin in order to both make it last longer and have fewer calories.
Note that later season sap will produce a much darker syrup.
6. End of Season
Once you see buds on the tree or the temperatures remain above freezing overnight it is unfortunately the end of the season. While sap continues to run, it becomes bitter.
Remove the tap from the tree and sanitize your equipment for storage until next year.
Have I got you craving syrup? Need to learn more: Check out this very thorough DIY Guide to maple syrup written by Lisa & Steve McBride and first published on The rootcellars rock blog (a fantastic resource produced by our friends at the Food Security Network of Newfoundland and Labrador).
Maple Models include Peter, Hiro and Paws the Cat at Scenic Valley Farm in Margaree, Cape Breton.

