Every Christmas mom would have boxes of Ganong chocolates that would get distributed throughout the holiday season. I would try to see which chocolate I could eat based on the diagram on the box. If it looked like a mushy center or alcohol based, I would avoid it like the plague. And, I would take a small corner bite just to make sure it was the one. If it wasn’t, I would neatly place it back in the wrapper! I can distinctly remember checking my Christmas stocking for goodies and hoping I wouldn’t find any ribbon candy in it…I know they were pretty and nostalgic-looking but that was it. I would use it as a bartering tool later on with my other siblings (sorry mom). Nothing much has changed since then. I’ve long since moved away from milk chocolate (eww) and favor dark chocolate. Visit Women’s Health Magazine for 9 health benefits of eating dark chocolate (at least 70 percent cacao).
Makes 12
adapted from Fifteen Spatulas
16 oz. dark chocolate (70%), chopped
1/2 cup creamy natural peanut butter
2 tablespoons butter, softened
1/4 cup sifted icing sugar
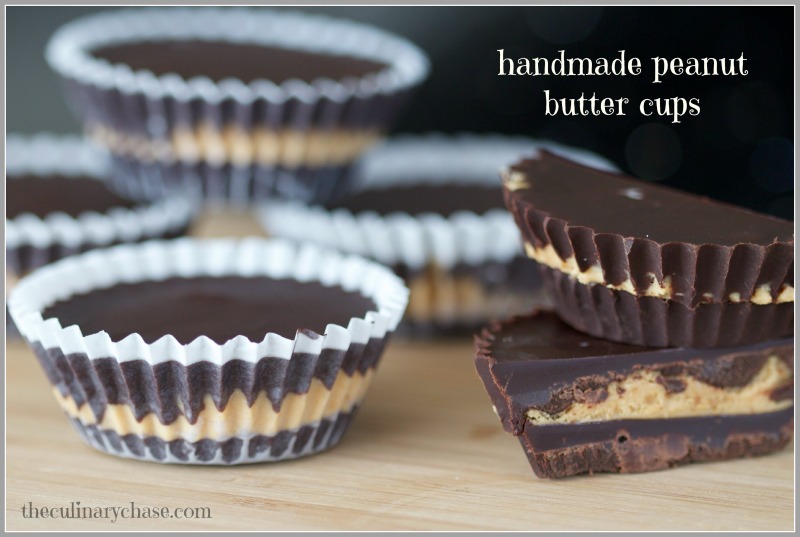
Fill a muffin tin with 12 cupcake liners. Melt half the chocolate either in a double boiler. Distribute melted chocolate between the cupcake liners by barely filling the bottom of each. I found that using a tablespoon helped. If the chocolate does not lie flat, drop the pan repeatedly on the counter until it is flatten and smooth. Place the pan in the freezer for 15 minutes.
Melt the last 1/2 of chocolate, and portion small spoonfuls of chocolate into the cups, one cup at a time, immediately dropping the pan repeatedly on the counter to flatten each cup. Do this for each cup as the chill from the peanut butter will harden the top layer of chocolate very quickly. Place the peanut butter cups in the freezer for 15 minutes to set the top layer of chocolate.
The Culinary Chase’s Note: Once you make your own, it will be difficult to go back to a commercial form. Keep the peanut butter cups in the fridge otherwise the filling will be too soft if left out at room temperature of any length of time. I’ll make these again but using less chocolate on the bottom and top…my gauge was a bit off making the top too thick but not too thick to enjoy. My husband is not a fan of peanut butter but when he tried this, he was hooked. Enjoy!
The post Peanut Butter Cups appeared first on The Culinary Chase.